Engine strip and re-build
Posted: Thu Nov 20, 2008 2:22 am
Maybe a few will be tackling this over the winter or just a shim check - either way hope this helps.
The most daunting part is actually removing the engine from the bike, stripping it down is fairly straight forward and quick.
I cheated and had this one delivered yesterday, so while still in my hallway I stripped it to bit's for storing just now.
1st off, thoroughly clean your engine with de-greaser (Jizer is good but avoid gunk unless motorcycle specific stuff). Dry the engine of with compressed air, a PC duster can will do.
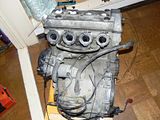
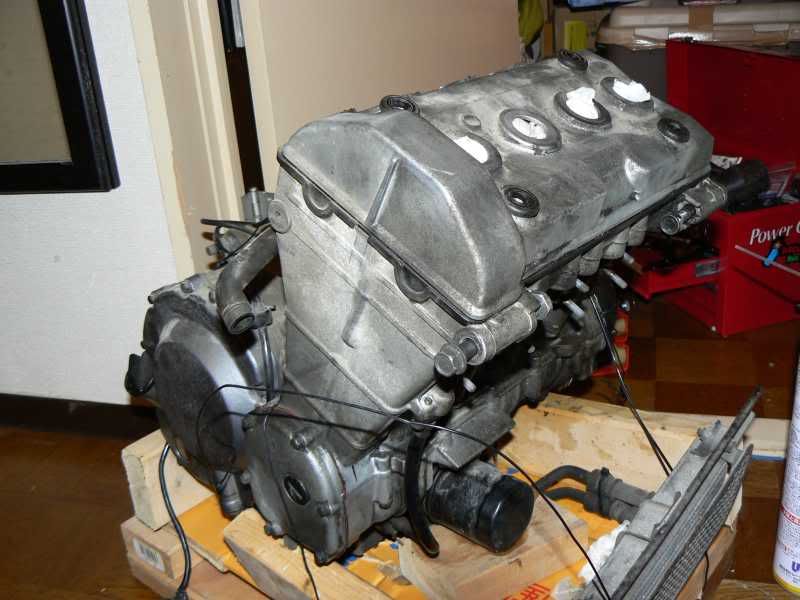
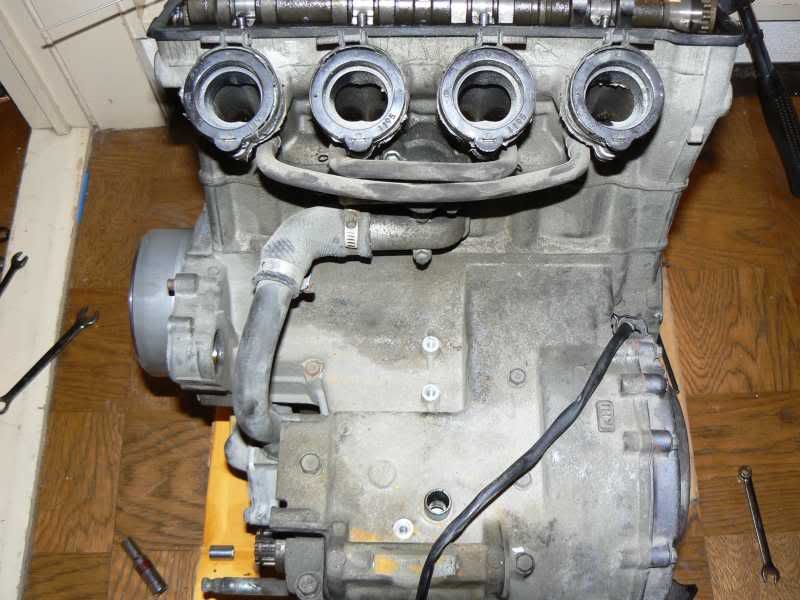
here is my donor motor - not the prettiest: (Click on thumb nail for larger image)
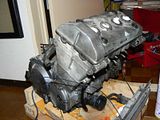

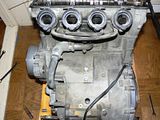
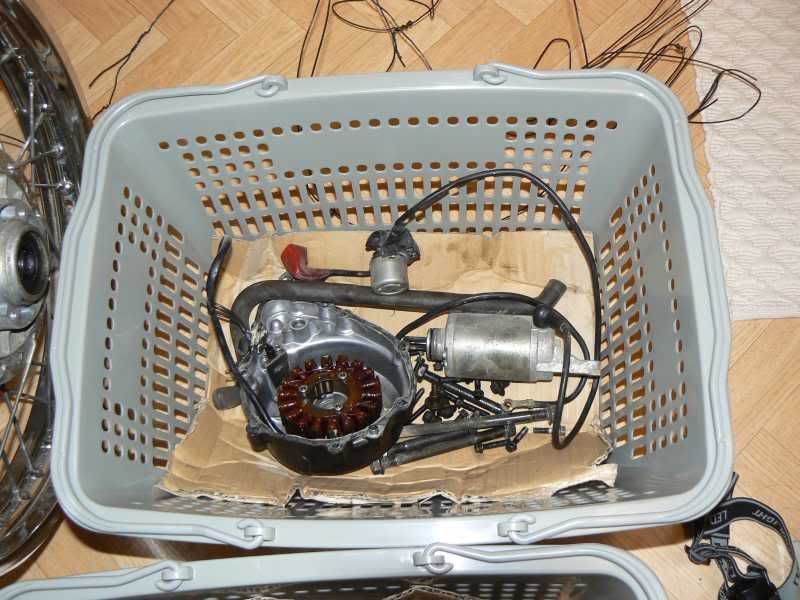
I started with removing as much of the external components as possible, starter motor off
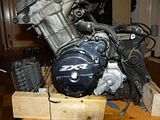
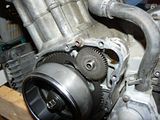
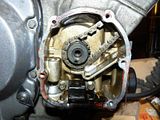
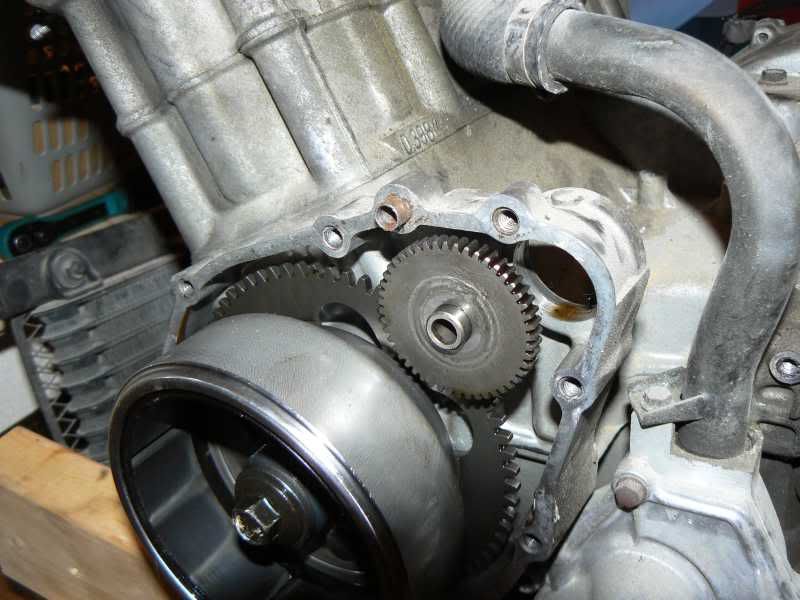
If you remove the generator cover (needs a tug as there's a huge magnet in there) you'll get access to the drive cog which has a dowl pin locating it into the casing - this is easily removed and the cog will come away. With the starter motor fixing bolts removed it will also easily come away from the engine casing (Not essential but helps).
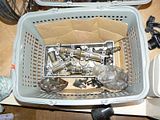
I had two baskets at my side, one for dry stuff and the other for wet

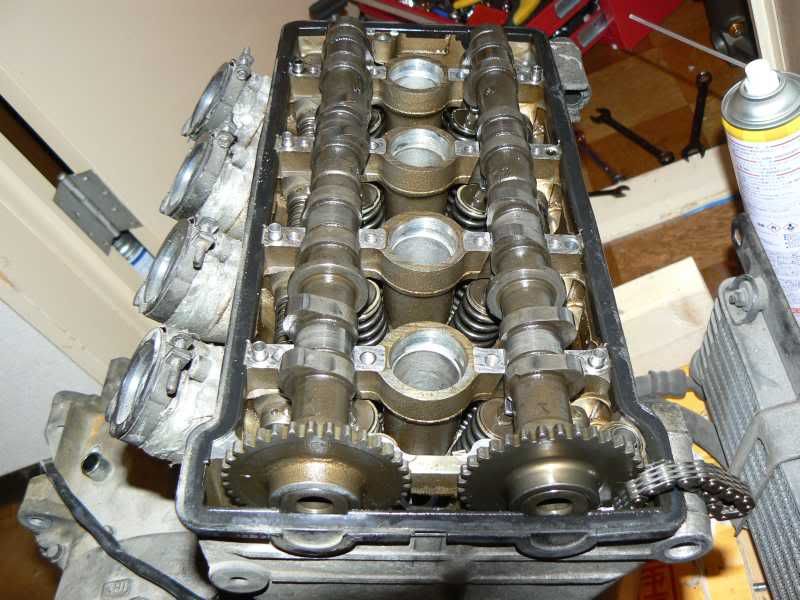
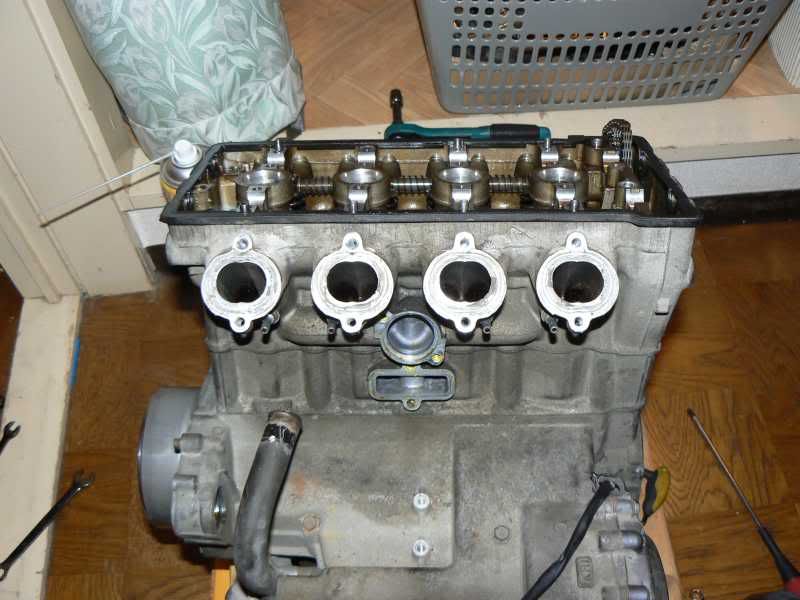
With the rocker cover removed (four bolts) you'll see the cam caps

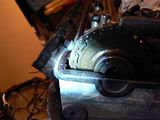
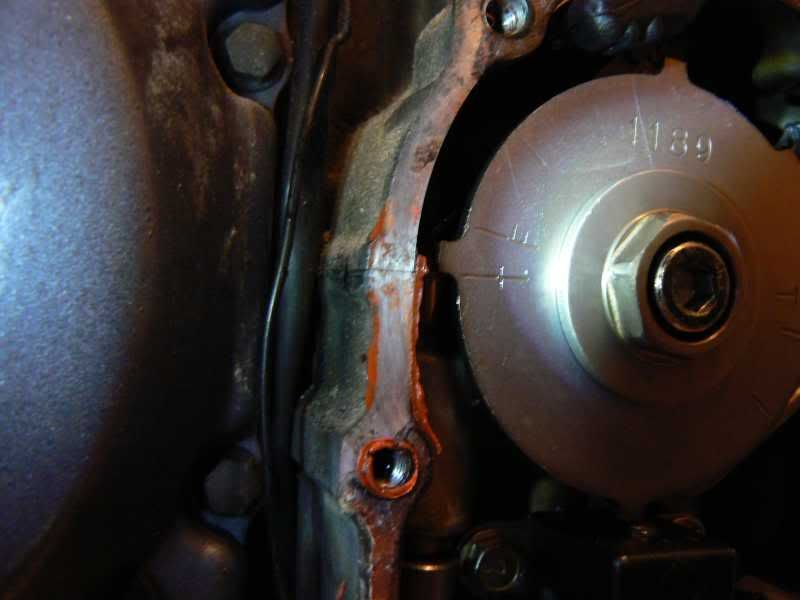
next you want to set the engine up to it's timing marks, use a 19mm socket on the pulsar plate bolt to rotate the engine clockwise, if you pass the timing mark to crankcase position do not be tempted to drag the timing back anti clockwise! Keep rotating clockwise for another near 360' as you approah the point you will feel a resistance as you are reaching Top Dead Centre.
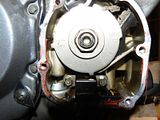
The "T" marks on the pulsar plate should look like this and line up on either side with the two engine casing mating surfaces

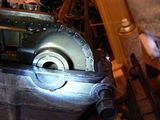
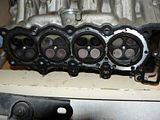
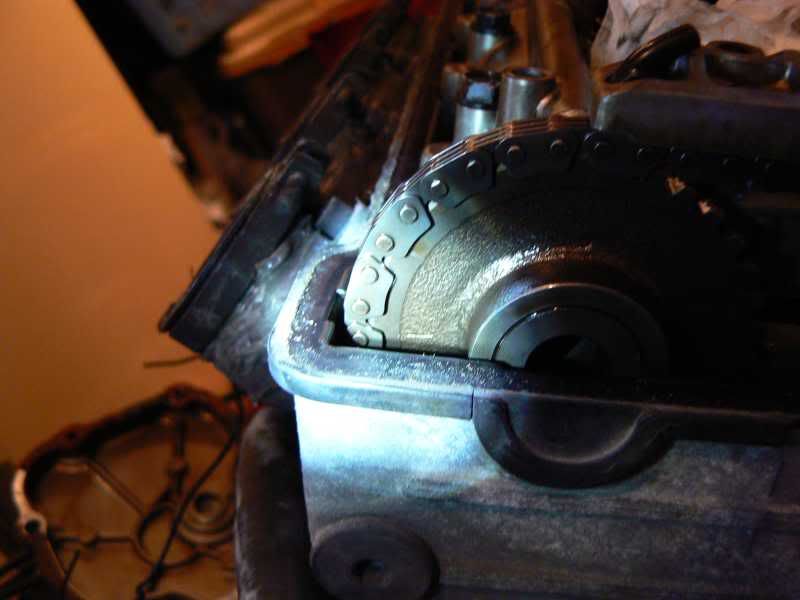
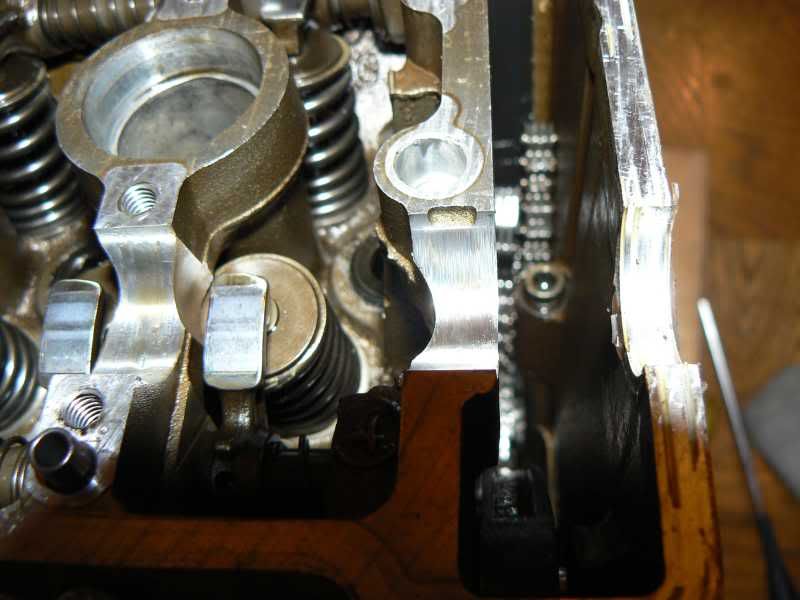
The notches on the cam shaft sprockets will line up on the head to rocker cover mating surface (Gasket removed)
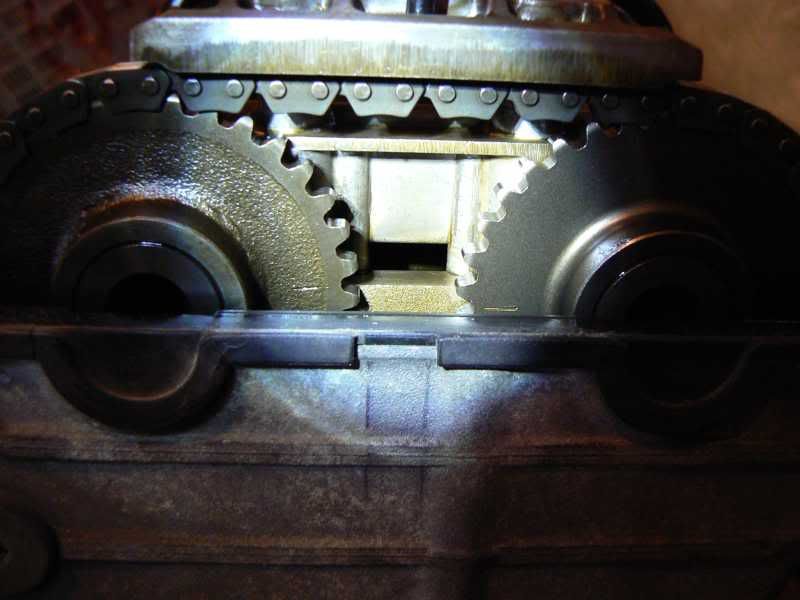
(Please note that on this engine the inlet has been set one tooth retarded which produces more mid range and is a common trick in Kwak motors, but please set yours correctly)
This is the same technique for doing your valve / shim clearances, at this setting you can measure the following valves (Leave at this setting for stripping the engine)
In # 2&4 Ex # 3&4
turn the timing marks 180' and you can then do
In # 1&3 Ex # 1&2
The cam marks will look like this

Removing the cam's:
Remove cam chain tensioner - underside of pulsar housing, remove cam chain damper inside pulsar chamber and remove the cam chain guides out of the tunnel from the top. I also removed the pulsar as there is no need to rotate the engine
The cam caps are numbered and must be re-fitted in the same location. Undo the mounting bolts in a zig-zag from right to left then back down doing the remaining bolts. Only crack the torque on them initially then small amount after that, you want this to be a slow process as you are releasing the pressure from the compressed valves - try and make the cam lift evenly until all bolts run freely. Same procedure for other cam.
Handle the camshaft with care and wrap them up in a clean oil soaked rag or spray with oil and wrap with cling film, I then placed mine in a shoe box on a bed of scrunged up newspaper.

Removing the cylinder head:
Now with the cam's out of the way you can get the head off, you have 10 bolts to remove and again these need to be done in sequence. Like the cam cap's you are only initially cracking the torque off them and not fully un-doing them.
From the cam chain tunnel side start with the front exhaust (10) then the inlet (9) then across too the opposite side of the engine and do Ex (8) and In (7) back over and Ex(6) and In (5) hop over too Ex(4) and In (3) leaving you the two centre bolts Ex(2) and In (1).
Keep going round them moving them a small bit at a time until the start to run free then fully remove one at a time.
You have one final allen bolt to remove inside the cam chain tunnel before the head can be removed

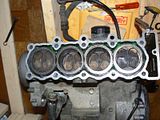
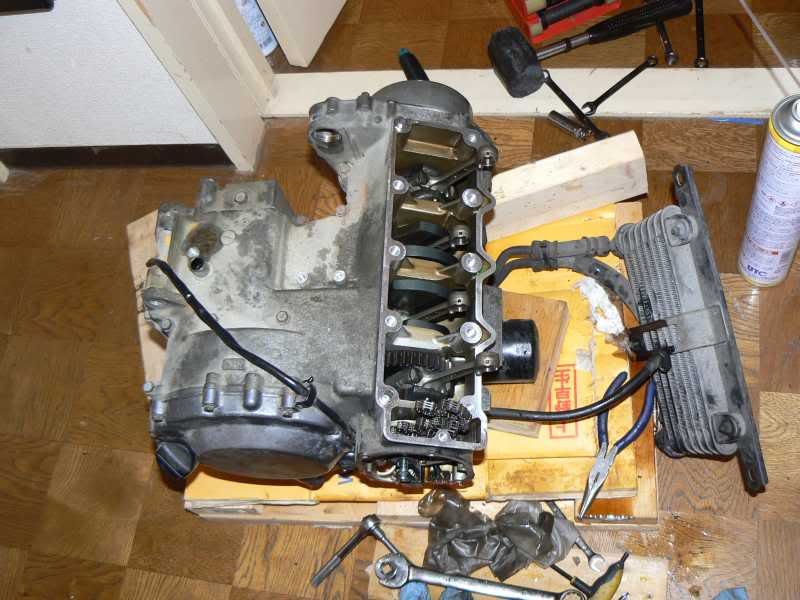
Then the head will easily be removed - it may need a slight knock with a rubber mallet.
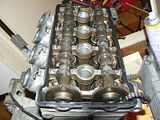
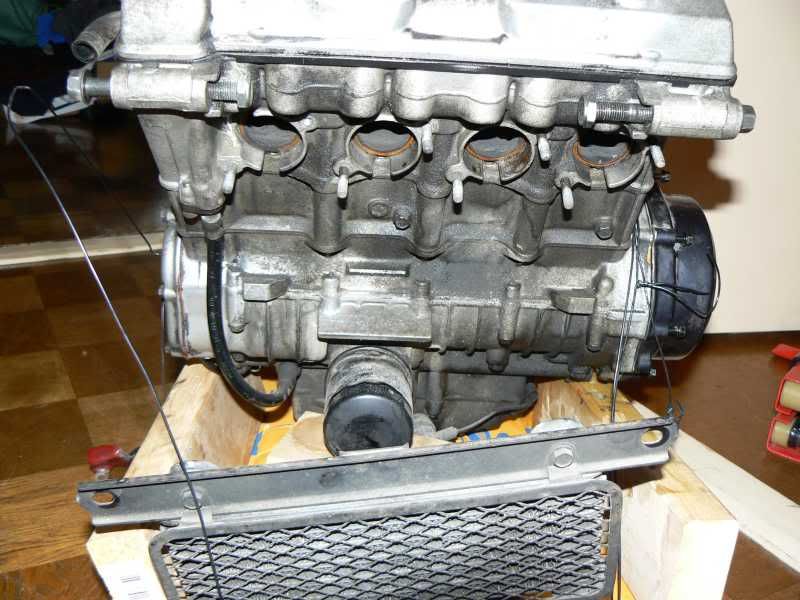
You can then lift the barrels very easily off too - try pulling it up with one hand and use the other to help push the pistons out the sleeves.
I then removed the pistons - they are secured with split circlips and are removed using beak nosed pliers, look for the indent on the side of them - that's where your pliers fit in and you can get a grip on them. Hopefully the end of the clip will be near this indent if not spin it round until it's a bout 2mm away , once removed you can then push out the gudgeon pins that hold them onto the conrod's not difficult but fiddly - a slightly smaller socket can help you push them through. Ensure you pack clean rags all around the connecting rods in case you drop one. I'm fully stripping the engine so didn't bother.

and that's where i have left it. Head,barrels,cam cap's, pistons and oil cooler are all stored in a sealable box. Engine body is packed up with rags and inside a cardboard box. cam's are inside the house in a shoe box.
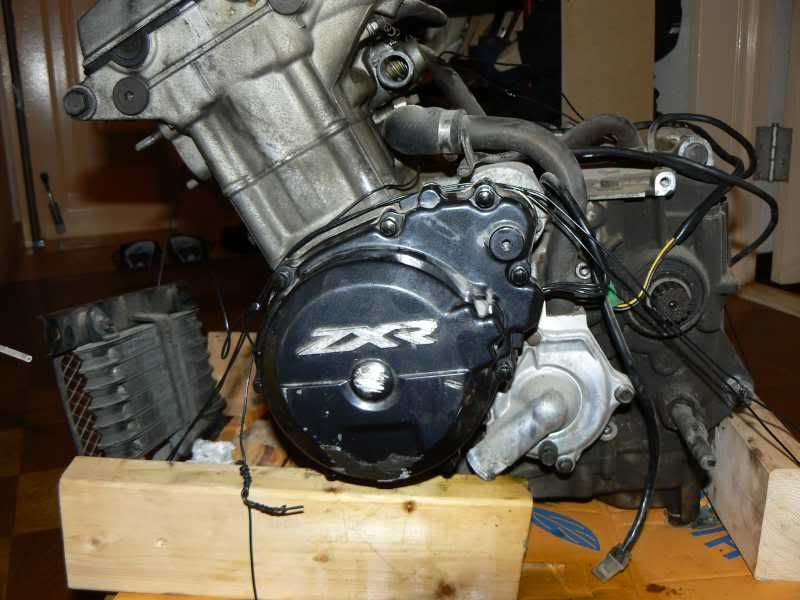
As I work on the engine I will add to this thread, clutch removal will be next along with taking the valves out of the head.
Till next time....
The most daunting part is actually removing the engine from the bike, stripping it down is fairly straight forward and quick.
I cheated and had this one delivered yesterday, so while still in my hallway I stripped it to bit's for storing just now.
1st off, thoroughly clean your engine with de-greaser (Jizer is good but avoid gunk unless motorcycle specific stuff). Dry the engine of with compressed air, a PC duster can will do.
here is my donor motor - not the prettiest: (Click on thumb nail for larger image)

I started with removing as much of the external components as possible, starter motor off
If you remove the generator cover (needs a tug as there's a huge magnet in there) you'll get access to the drive cog which has a dowl pin locating it into the casing - this is easily removed and the cog will come away. With the starter motor fixing bolts removed it will also easily come away from the engine casing (Not essential but helps).
I had two baskets at my side, one for dry stuff and the other for wet
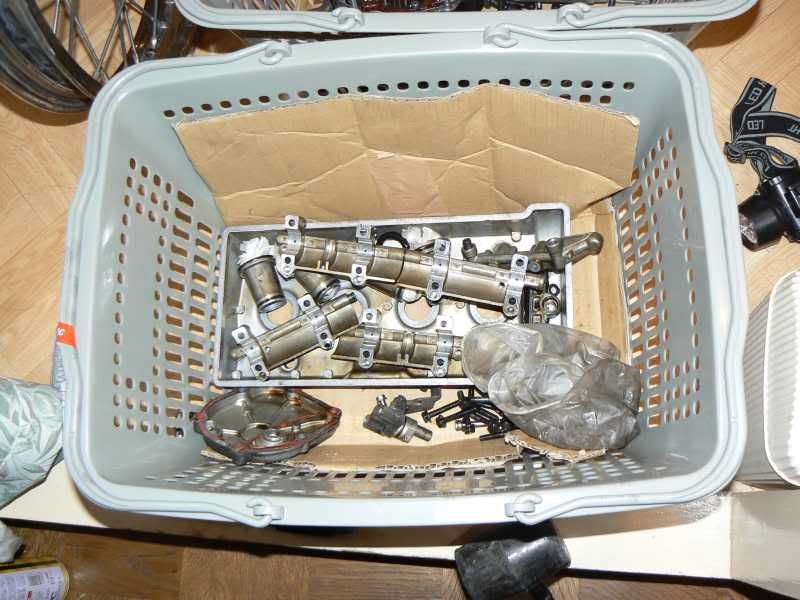
With the rocker cover removed (four bolts) you'll see the cam caps

next you want to set the engine up to it's timing marks, use a 19mm socket on the pulsar plate bolt to rotate the engine clockwise, if you pass the timing mark to crankcase position do not be tempted to drag the timing back anti clockwise! Keep rotating clockwise for another near 360' as you approah the point you will feel a resistance as you are reaching Top Dead Centre.

The "T" marks on the pulsar plate should look like this and line up on either side with the two engine casing mating surfaces
The notches on the cam shaft sprockets will line up on the head to rocker cover mating surface (Gasket removed)
(Please note that on this engine the inlet has been set one tooth retarded which produces more mid range and is a common trick in Kwak motors, but please set yours correctly)

This is the same technique for doing your valve / shim clearances, at this setting you can measure the following valves (Leave at this setting for stripping the engine)
In # 2&4 Ex # 3&4
turn the timing marks 180' and you can then do
In # 1&3 Ex # 1&2
The cam marks will look like this
Removing the cam's:
Remove cam chain tensioner - underside of pulsar housing, remove cam chain damper inside pulsar chamber and remove the cam chain guides out of the tunnel from the top. I also removed the pulsar as there is no need to rotate the engine

The cam caps are numbered and must be re-fitted in the same location. Undo the mounting bolts in a zig-zag from right to left then back down doing the remaining bolts. Only crack the torque on them initially then small amount after that, you want this to be a slow process as you are releasing the pressure from the compressed valves - try and make the cam lift evenly until all bolts run freely. Same procedure for other cam.
Handle the camshaft with care and wrap them up in a clean oil soaked rag or spray with oil and wrap with cling film, I then placed mine in a shoe box on a bed of scrunged up newspaper.
Removing the cylinder head:
Now with the cam's out of the way you can get the head off, you have 10 bolts to remove and again these need to be done in sequence. Like the cam cap's you are only initially cracking the torque off them and not fully un-doing them.
From the cam chain tunnel side start with the front exhaust (10) then the inlet (9) then across too the opposite side of the engine and do Ex (8) and In (7) back over and Ex(6) and In (5) hop over too Ex(4) and In (3) leaving you the two centre bolts Ex(2) and In (1).
Keep going round them moving them a small bit at a time until the start to run free then fully remove one at a time.
You have one final allen bolt to remove inside the cam chain tunnel before the head can be removed
Then the head will easily be removed - it may need a slight knock with a rubber mallet.

You can then lift the barrels very easily off too - try pulling it up with one hand and use the other to help push the pistons out the sleeves.

I then removed the pistons - they are secured with split circlips and are removed using beak nosed pliers, look for the indent on the side of them - that's where your pliers fit in and you can get a grip on them. Hopefully the end of the clip will be near this indent if not spin it round until it's a bout 2mm away , once removed you can then push out the gudgeon pins that hold them onto the conrod's not difficult but fiddly - a slightly smaller socket can help you push them through. Ensure you pack clean rags all around the connecting rods in case you drop one. I'm fully stripping the engine so didn't bother.
and that's where i have left it. Head,barrels,cam cap's, pistons and oil cooler are all stored in a sealable box. Engine body is packed up with rags and inside a cardboard box. cam's are inside the house in a shoe box.
As I work on the engine I will add to this thread, clutch removal will be next along with taking the valves out of the head.
Till next time....