Fitting GSXR 1000 Calipers.
Posted: Fri Mar 20, 2009 8:49 pm
Ok, this is a pretty hot topic on the forum and not much info is about on them so I thought I'd do a little write up on my setup of the 6 pots.
Reasons for upgrade :-
My brakes had always been toad from the start, I decided to rebuild them but then the seals burst on me, big lesson learnt there, if you are going to replace seals and/or bearings, pay for OEM. They may be more pricey but you know your getting the proper quality. However, for me this was not a viable option, i needed 8 pistons and 16 seals plus the 4 smaller seals for the fluid ways. I think I was quoted in the region of 240 quid from Cradley Kawasaki. Stuff that.
First of all you will ofcourse need a pair of calipers that will fit your bike. 62 mm is the magic number for the distance between mounting points. The hard part is making the bolts to fit, the standard ZXR bolts are big, M10 I think, my gsxr calipers use much smaller bolts!
Old on the right, new on the left.
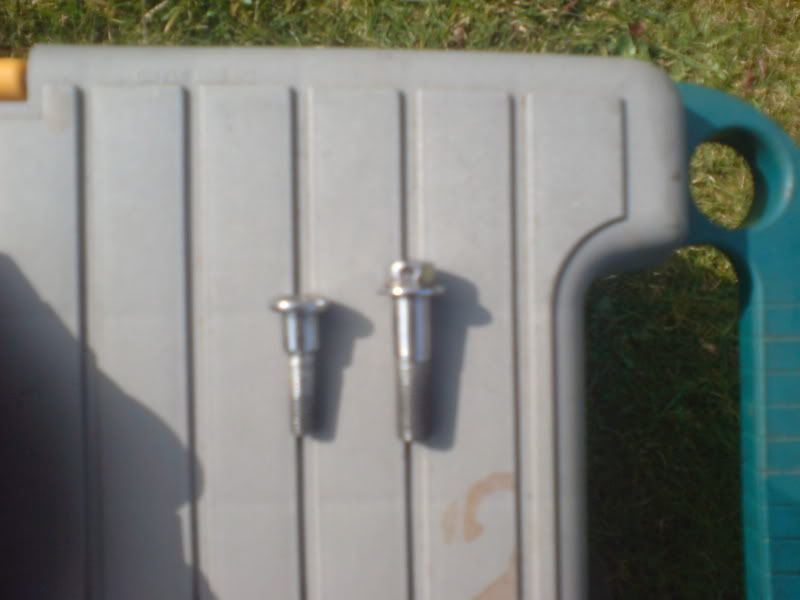
Note how the new bolts have a shoulder big enough to fit snug into the holes on the fork stantions, so no spacers are needed. If you do need spacers made up, here is a diagram showing the sizes you will need.

I am using the standard ZXR400 master cyclinder with HEL braided hoses. I may upgrade to a bigger M/C but the calipers seem absolutely fine with the standard one.
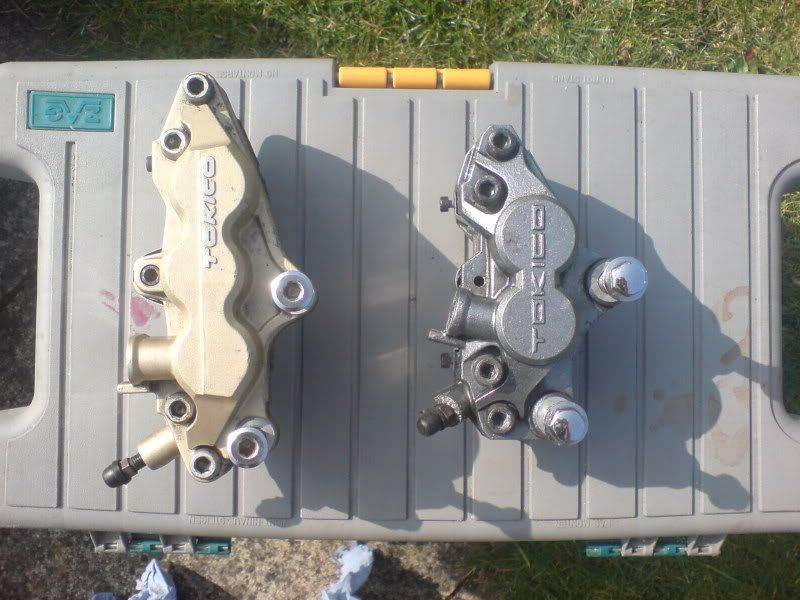
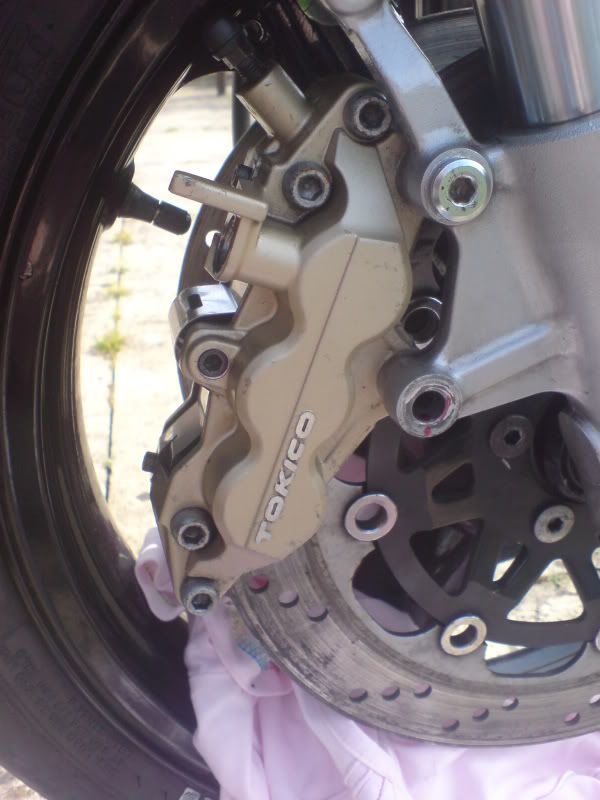
A pic showing the new calipers next to the old ones
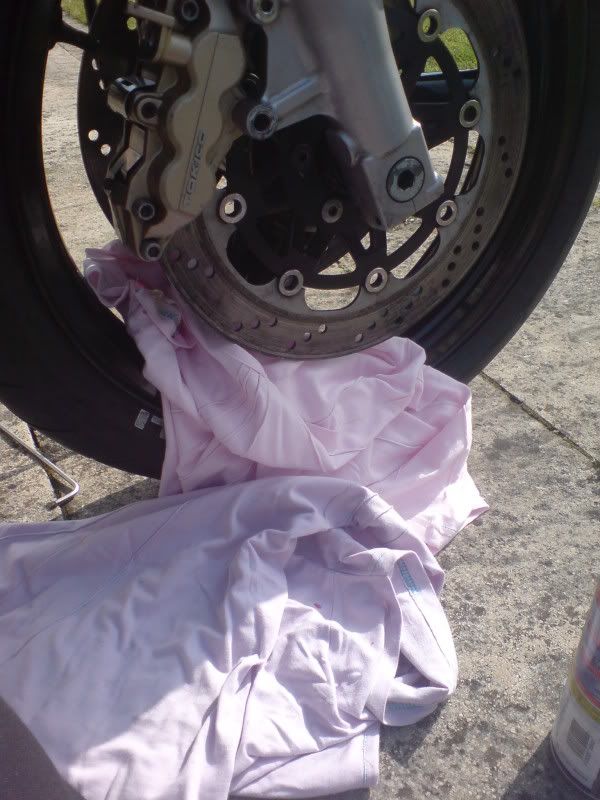
Firstly I make sure I have my newly painted wheels all covered up. Brake fluid is a natural paint stripper so make sure you keep any paint work covered up! If you do spill some fluid on your bike then make sure you clean it off straight away. I have taken my fairings off as A) it saves any damage to them and B) it makes it alot easier to acces your brake lines and properly position them.
My master cyclinder and brake lines are connected but my brake lines are NOT connected to my calipers. Firstly I need to prime the lines and to do this we need to top up the master cyclinder with some dot 4 brake fluid. I then take my lines and put them in a jar of brake fluid and pump the lever. This allows the fluid to fill the lines and also not suck air in from the open end. Remeber throughout the process that you are trying to eliminate any air from the system, air bubbles in your lines will give you squishy brakes. Once I'm happy with that and fluid is slowly dripping out the lines, I get my banjo bolts, 2 washers and connect up my calipers making sure the longest line goes to the left caliper and also making sure that I wipe away any fluid that drips onto the calipers.
Now we need to get the fluid to the calipers. I used a syringe which I bought from a pet store (the type used to feed milk to puppies etc) and a piece of tube and use this to draw out the brake fluid. By fair the easiest and cheapest option. You can buy more expensive pumps from various shops or off the internet. You can also buy syringes off ebay if you are struggling to find some. http://cgi.ebay.co.uk/easy-brake-bleed- ... 240%3A1318
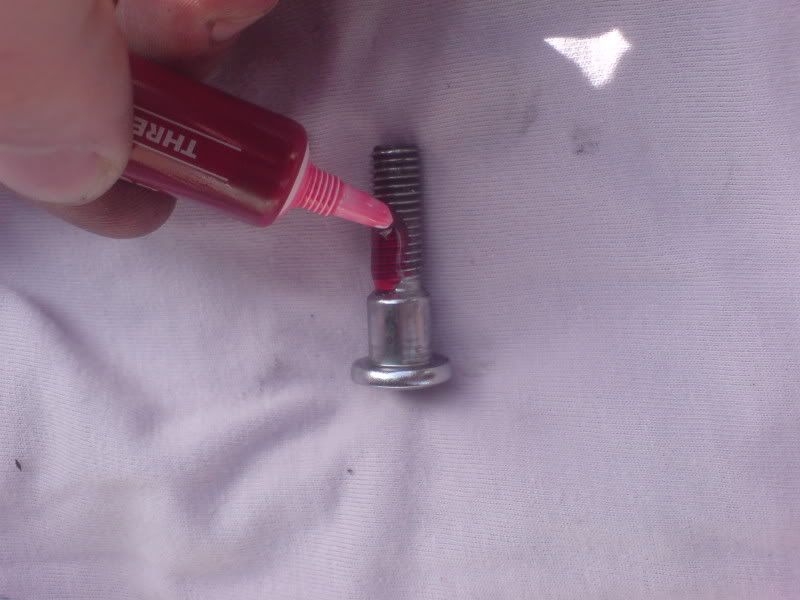
Once that is done I attach my calipers to the stantions on the bike. I am going to use some locktite on the bolts for added safety
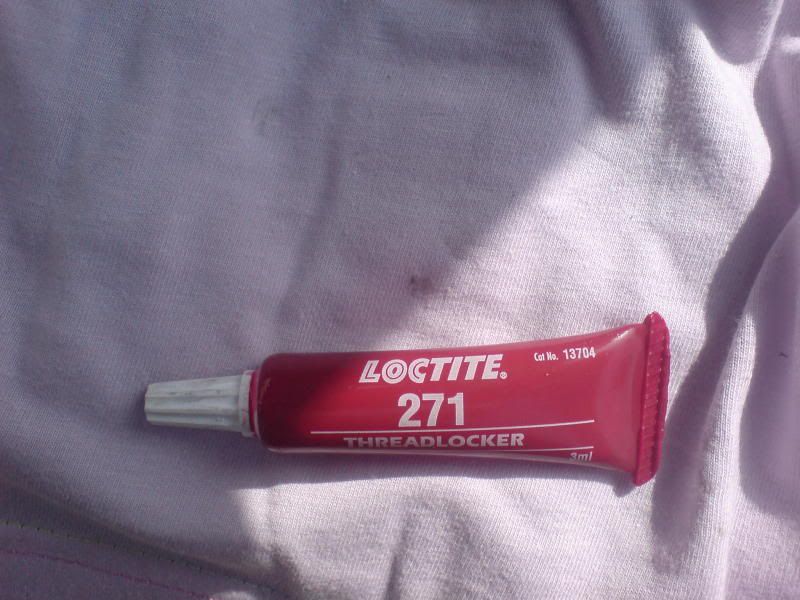
Smearing a small amount on each bolt.
Obviously the bolts need to be tight, but make sure as to not over tighten them. Im sure somone knows the correct N/m rating but I used an allen key with an extra bit of tubing to help give me some more leverage.
Now its time to bleed those calipers. I hate this job with a passion. Its boring and took me ages. I start on the left caliper and bleed each one till I'm happy I can't see any air bubbles coming through I use a simple technique but it works for me.
Open the bleed nipple - slowly press the brake lever and hold - tighten the bleed nipple - release.
Once you start to eventually get some pressure in the calipers, pump them with the brake lever. This moves the pistons into position and will also help get rid of those lurking air bubbles. Once I'm happy I have all the pistons moving, i pump the brake lever 10-20 times and then bleed the calipers using the same technique as above.
Repeat this step until your brakes are nice and sharp, make sure your wheel turns freely and double check your bolts are on tight.
After I have finished I clean all surfaces around where I have been working with water and then a sponge with some soapy water. You will see where you have excess brake fluid as it will turn to a white soapy substance when water hits it!
I hope this offers people a bit more info into upgrading calipers.
Reasons for upgrade :-
My brakes had always been toad from the start, I decided to rebuild them but then the seals burst on me, big lesson learnt there, if you are going to replace seals and/or bearings, pay for OEM. They may be more pricey but you know your getting the proper quality. However, for me this was not a viable option, i needed 8 pistons and 16 seals plus the 4 smaller seals for the fluid ways. I think I was quoted in the region of 240 quid from Cradley Kawasaki. Stuff that.
First of all you will ofcourse need a pair of calipers that will fit your bike. 62 mm is the magic number for the distance between mounting points. The hard part is making the bolts to fit, the standard ZXR bolts are big, M10 I think, my gsxr calipers use much smaller bolts!
Old on the right, new on the left.
Note how the new bolts have a shoulder big enough to fit snug into the holes on the fork stantions, so no spacers are needed. If you do need spacers made up, here is a diagram showing the sizes you will need.
I am using the standard ZXR400 master cyclinder with HEL braided hoses. I may upgrade to a bigger M/C but the calipers seem absolutely fine with the standard one.
A pic showing the new calipers next to the old ones
Firstly I make sure I have my newly painted wheels all covered up. Brake fluid is a natural paint stripper so make sure you keep any paint work covered up! If you do spill some fluid on your bike then make sure you clean it off straight away. I have taken my fairings off as A) it saves any damage to them and B) it makes it alot easier to acces your brake lines and properly position them.
My master cyclinder and brake lines are connected but my brake lines are NOT connected to my calipers. Firstly I need to prime the lines and to do this we need to top up the master cyclinder with some dot 4 brake fluid. I then take my lines and put them in a jar of brake fluid and pump the lever. This allows the fluid to fill the lines and also not suck air in from the open end. Remeber throughout the process that you are trying to eliminate any air from the system, air bubbles in your lines will give you squishy brakes. Once I'm happy with that and fluid is slowly dripping out the lines, I get my banjo bolts, 2 washers and connect up my calipers making sure the longest line goes to the left caliper and also making sure that I wipe away any fluid that drips onto the calipers.
Now we need to get the fluid to the calipers. I used a syringe which I bought from a pet store (the type used to feed milk to puppies etc) and a piece of tube and use this to draw out the brake fluid. By fair the easiest and cheapest option. You can buy more expensive pumps from various shops or off the internet. You can also buy syringes off ebay if you are struggling to find some. http://cgi.ebay.co.uk/easy-brake-bleed- ... 240%3A1318
Once that is done I attach my calipers to the stantions on the bike. I am going to use some locktite on the bolts for added safety
Smearing a small amount on each bolt.
Obviously the bolts need to be tight, but make sure as to not over tighten them. Im sure somone knows the correct N/m rating but I used an allen key with an extra bit of tubing to help give me some more leverage.
Now its time to bleed those calipers. I hate this job with a passion. Its boring and took me ages. I start on the left caliper and bleed each one till I'm happy I can't see any air bubbles coming through I use a simple technique but it works for me.
Open the bleed nipple - slowly press the brake lever and hold - tighten the bleed nipple - release.
Once you start to eventually get some pressure in the calipers, pump them with the brake lever. This moves the pistons into position and will also help get rid of those lurking air bubbles. Once I'm happy I have all the pistons moving, i pump the brake lever 10-20 times and then bleed the calipers using the same technique as above.
Repeat this step until your brakes are nice and sharp, make sure your wheel turns freely and double check your bolts are on tight.
After I have finished I clean all surfaces around where I have been working with water and then a sponge with some soapy water. You will see where you have excess brake fluid as it will turn to a white soapy substance when water hits it!
I hope this offers people a bit more info into upgrading calipers.
