Page 4 of 10
Re: banner's beast...
Posted: Fri Oct 05, 2012 4:17 pm
by banner001
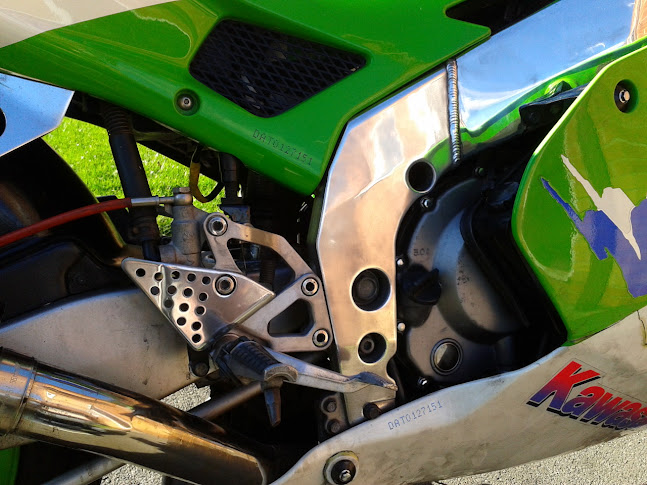
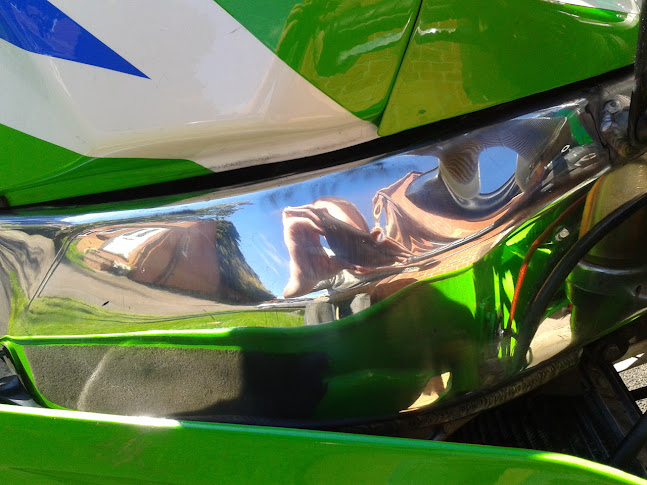
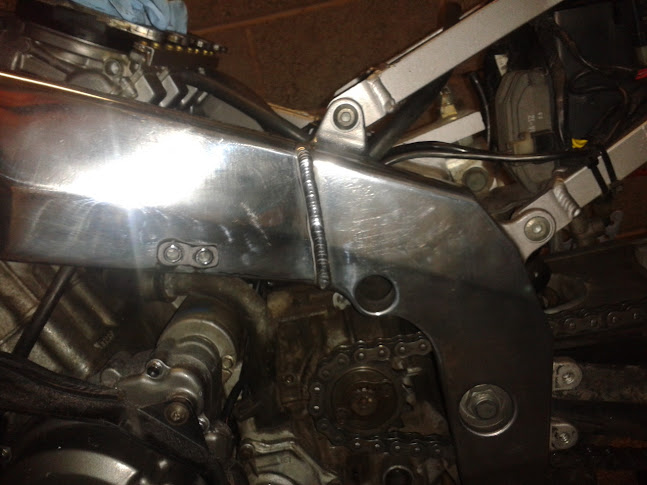
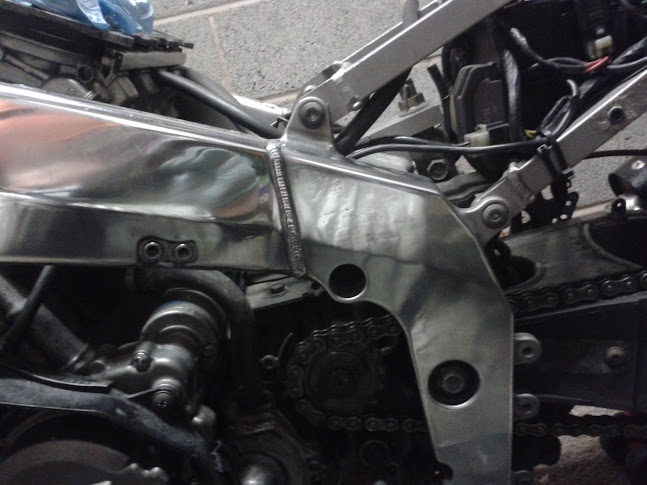
half the frame is polished...
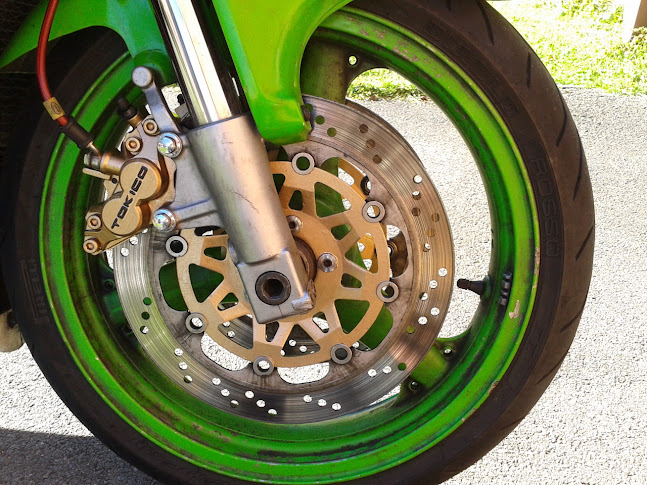
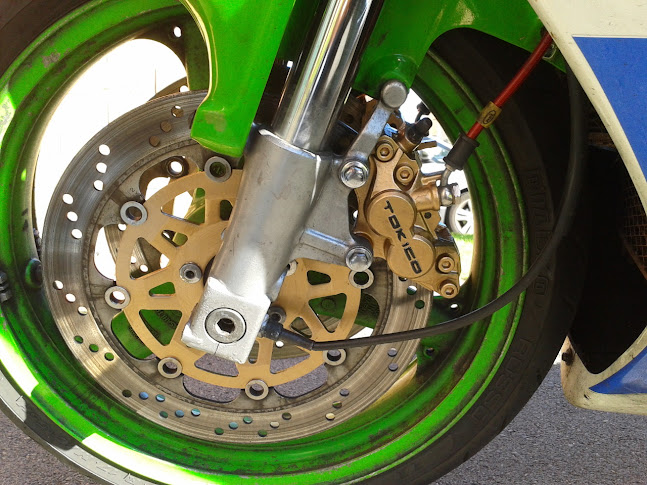
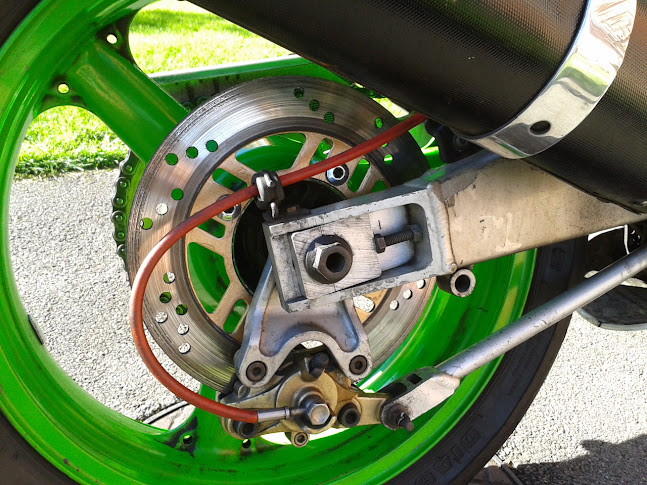
other half is preped for polishing tonight, calipers and rotors are 2nd coated with paint, need to do a few touch-ups but they are ready to go on...bike should be ready for the weekend. bike is bogging between 3/4 - full throttle so it needs larger mains, got some 100's to go in (98's in at the moment), will see if that makes it better, might need 102's or 105's...but hopefully not as ive got none in stock.
bike will be on the road tomorrow, if its sunny ill give it a hose down and take a picture

then i will try to setup the front and rear suspension, rear rebound screw is completely welded in but i can do the preload and see if that makes the rear a bit better, will do the front later on, wanna see if pulling the yokes up 10mm has made the front a little less twitchy...
Re: banner's beast...
Posted: Sat Oct 06, 2012 4:43 pm
by banner001
Re: banner's beast...
Posted: Sat Oct 06, 2012 4:53 pm
by banner001
New to do list:-
paint torsion bar silver (currently its coloured corrosion/embedded dirt) and swingarm,
coil stick mod?,
swap fairing and meter stays for aluminium?,
integrated wing-mirror indicators,
new master cylinder?,
my levers are all marked (previous owners damage) so a change (in line with the MC),
new bar ends and grips,
replace a few bolts with black aluminum (fairings, fuel cap, screen),
powdercoat F+R rims,
new brake fluid reservoir for the front,
finish polishing frame headstock.
Re: banner's beast...
Posted: Tue Oct 23, 2012 5:26 pm
by callum@93
The calipers look great! , what kind of paint did you use ??
Re: banner's beast...
Posted: Tue Oct 23, 2012 6:28 pm
by banner001
callum@93 wrote:The calipers look great! , what kind of paint did you use ??
nitromors paint stripper, followed by 2-coats of clostermans aluminium etch primer, followed by 2-3 coats of e-tech caliper paint.
watch both paints, they will destroy every brush you use, paint thinner wont wash it off or white spirit. its like a stringy plastic resin in fluid...i only used brush-on paint as my callipers were assembled and i didnt wanna split them or remove from the brake lines.
Re: banner's beast...
Posted: Fri Apr 26, 2013 10:19 pm
by jambon
Bump, John how's the ZXR getting on? hope it's not getting neglected with the FZR project.
Re: banner's beast...
Posted: Fri Aug 01, 2014 2:45 pm
by banner001
has it been that long since i did the calipers...seems like last week
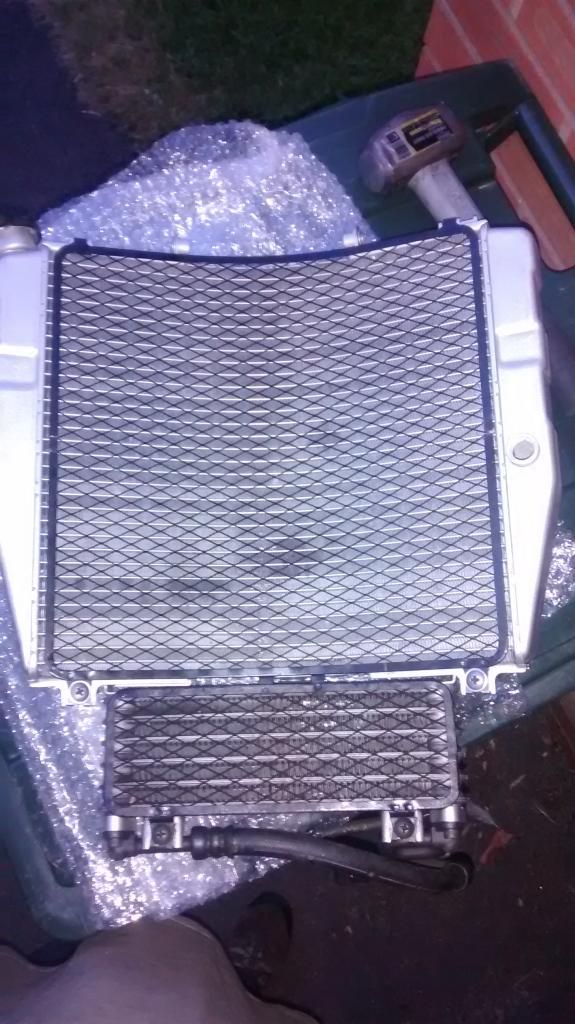
i have decided to use the scoot as my daily commute and keep the 400 for "best", so in an effort to put it back to mint condition (well, 20-year old 49,000 mile mint condition) ive bought new decals from sunrise graphics (they look very good quality, highly recommended from me), a new radiator and oil cooler from redexrob (they are almost brand new and look good enough to be mounted to a wall in a display case), and im repairing my ridiculously light carbon end can.
oh and if anyone wants to know i measured my sandybikespares downpipes at 4.05kg, so if anyone has any titanium ones, or wants to measure the weight of the stock pipes, that would be handy to know for weight-saving purposes.
im waiting on new exhaust gaskets, when they get here i will give my engine a clean, ive already fitted the oil cooler, so ill fit the downpipes and rad and then fix my pipe.
all the rest is then cosmetic, it needs the RHS front panel painting and decaly applying, new front fairing+paint, wheels stripping and painting+new rubber and the torque arm stripping and painting...that will be the work for this year, maybe with a few new bolts thrown in for good measure.
for next year i will be removing the swingarm and painting it plus looking at a few bits of damage here and there, gonna strip down the rear suspension linkages with new grease and bearings going in, as well as a new shock. then it will just be a few cosmetic touchups (got two scuffed indicators and i would like white mirrors), and ill look at getting the rest of the panels/tank sprayed and new decals adding, might look at getting the fork bottoms properly sprayed as well as a new/non-scratched top yoke...and i think thats all thats needed, oh and the clutch cover powdercoated as its got a few dings in it.
ill post pics when photobucket stops being a dick...
Re: banner's beast...
Posted: Sun Aug 03, 2014 10:58 pm
by banner001
out with the old:
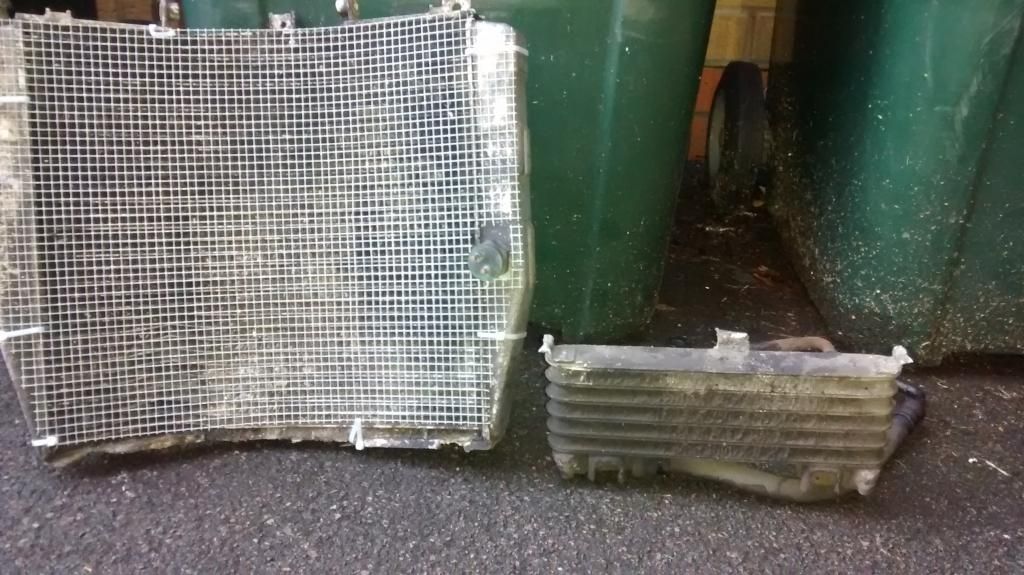
in with the new:
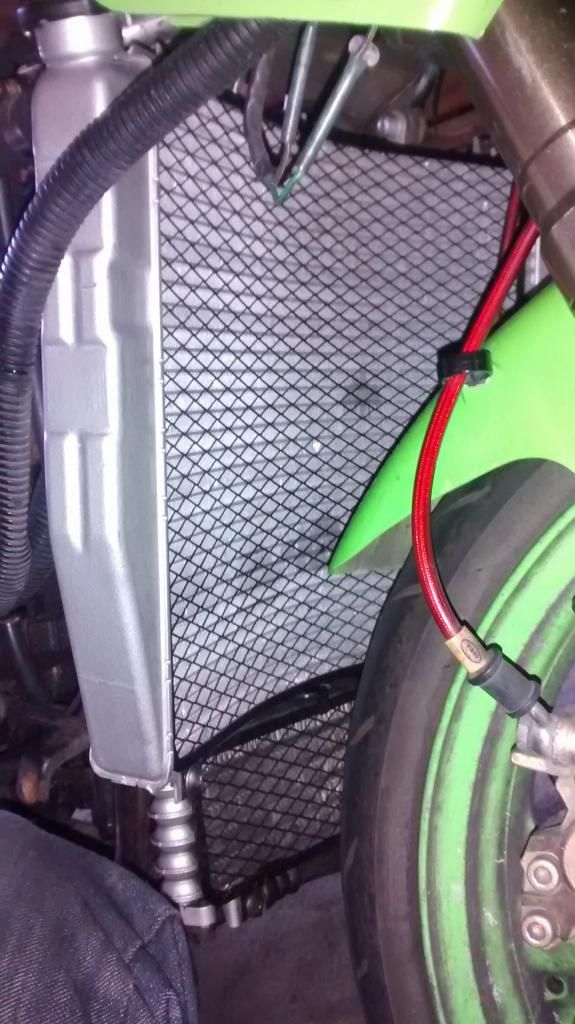
yes the front rim needs painting...see the previous post
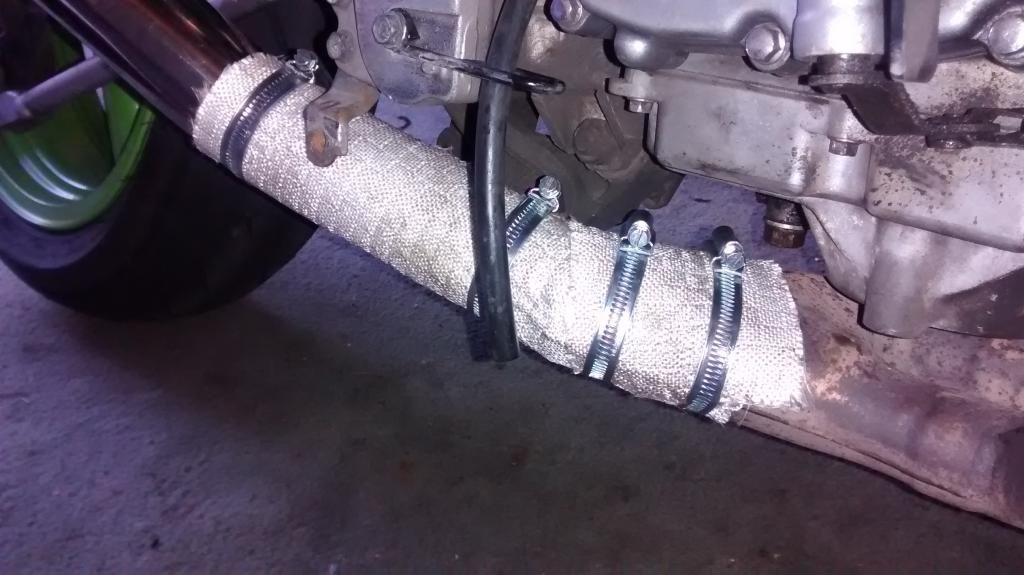
added some foil-backed heat wrap to the exhaust as the sandybikespares exhaust did slightly melt my previous fairing at the bottom, i think the fairing mounts might be bent so ill replace them and maybe pack out the back with a few washers to move the new fairing away from the downpipes...but hopefully the heat wrap will be all thats needed. and with 4 jubilee clips it aint going anywhere
yes the linkage could do with a clean...see previous post again
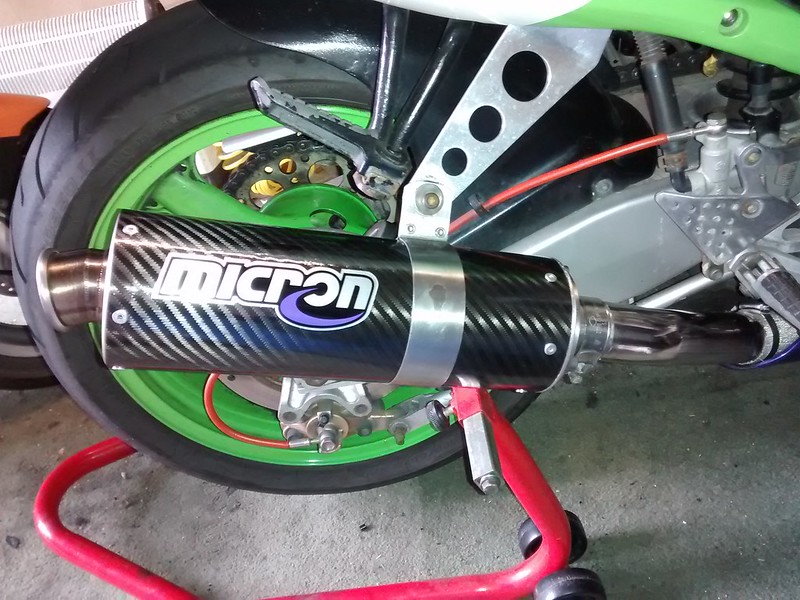
during my attempt to shorten my exhaust baffle using a lathe i managed to catch one of the perforations a bit too much and it damaged it beyond reasonable repair, £5 for a new pipe which i will cut and weld to the original internal flange, then weld it all onto the exhaust outlet like its supposed to be and repack it as it had only 1/3rd of the packing it should have had, and as ill now be able to remove the db killer (it was holding up the perforated baffle before) ill need a bit more wadding than before...should all be good for next week.
Re: banner's beast...
Posted: Tue Aug 12, 2014 3:13 pm
by banner001
took it to a mates to weld the perforated pipe to the cut flange, and then that to the exhaust's exit pipe...all good for £10, packed it with 2 rolls of wadding, all new rivets and drilled holes, polished the carbon, polished the metal parts where applicable, cut a new gasket, sealed it all with firegum, added a micron sticker and lacquer...looks mint now, sounds better than before as its not rattling and doesnt need the small baffel anymore - it was a load bearing part...
i had a spare RHS panel lying about so ive put that on the bike, i want to see if the heat wrap is doing anything - my plastic was getting hot and melting before as the exhaust collector box was touching the plastic, ill do a few hot runs with the bike and see if this sacrificial panel warps, if it does ill look at finding a way to space it away from the exhaust collector box.
Re: banner's beast...
Posted: Tue Aug 12, 2014 6:29 pm
by RedexRobB
Looking good, especially the new rad and cooler

Re: banner's beast...
Posted: Tue Aug 12, 2014 6:34 pm
by banner001
Cheers rob...I've had to listen to run that can rattle away for over a year...sounds so much better now! Should have done it ages ago...
Re: banner's beast...
Posted: Tue Aug 12, 2014 7:34 pm
by tink
Very nice work your doing fella
Re: banner's beast...
Posted: Tue Aug 12, 2014 8:58 pm
by banner001
It needed doing. The bikes had a lot of abuse and I'll not put as much work into it for another few years, so I'll take the time now to do it properly...the bike deserves it
Re: banner's beast...
Posted: Wed Jan 14, 2015 7:00 pm
by fergy150
banner001 wrote:new battery sorted it out, still have a 'mild' hot start, takes 1-2 seconds after a thrashing to turn over, will clean up starter motor contacts like in a recent post by 'cargo'...see if that improves it at all?
might also look at fitting some aluminized matting to the underside of the airbox, and try to cut some out to fit just above the head, with cutouts for the carbs to slot over, might help to deflect radiant heat as well as warm air...
in other news i have bought a new airbox as mine was not sealing properly, for the time being i wanted to see what a k&n filter would look like in there as i had one lying around. looks ok, but the snorkel no longer fits, so i have taken it out of the plate it sits in, replaced that plate and will see what it looks like. wont be fitting it yet, not until i replace exhaust with a freeer-flowing beowulf can in christmas.
also i have bought some 32mm carbs (dont know yet if my current ones are 30mm or 32mm) for me to have a play with, never taken some apart before, ad says they are dynojetted for a ram-air box racing bike...will see whats fitted, give then a damn good clean, ready for testing some bits around christmas time.
incidentally what do people use as a cleaner during sonication? water, gasoline, kerosene, carb cleaner?? i have access to ultra-sonication baths at work, plus every solvent known to man...so if someone can please point me in the right direction?
Might be carb related my lack of power issues, so hopefully a good clean, different needles and a free-flowing exhaust might up it a bit...still needs looking at though, must be something else holding it back, ill start diagnosing it in a few weeks.
Just wondered if the 32mm carbs fit in the end? or did you use different ones?
Re: banner's beast...
Posted: Thu Jan 15, 2015 9:55 am
by banner001
hi, the standard zxr400 30 or 32mm carbs both work.
you get a tad more midrange power with the 30mm, and a tad more topend power with the 32mm relative to each other.