Page 3 of 5
Re: L2 resto - first time for everything
Posted: Mon Dec 05, 2011 8:46 pm
by Cimanu
Since you've got it out you may aswell go full out on it. New cam chain, tensioner and guides, rocker cover gasket and if I were you I'd get a new airbox. I had a hard time sourcing one though, managed to seal that one somewhat with silicone (which i'm sure you've found now... ick huh) but it never sealed properly, always needed a fair amount of throttle to start.
Re: L2 resto - first time for everything
Posted: Mon Dec 05, 2011 9:07 pm
by stonemonkey
Yeah I am planning on overhauling the engine whilst it's out. Plannin on making a 2mm rubber gasket to go between the two halves once the box has been cleaned. Wheels off to get powdercoated this week hopefully.
Re: L2 resto - first time for everything
Posted: Sat Dec 10, 2011 2:37 pm
by stonemonkey
Little update..
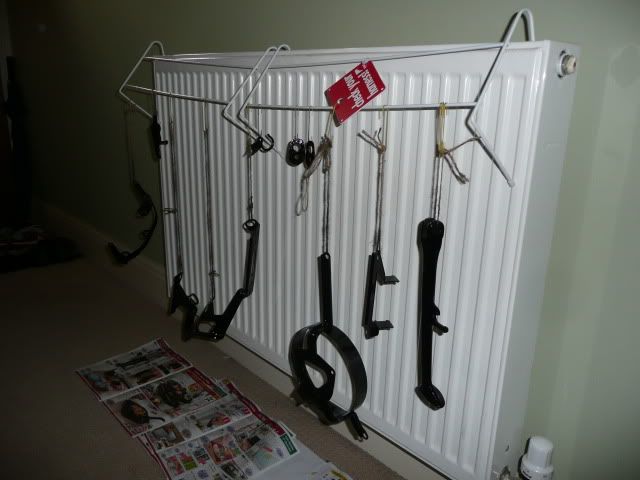
Have done some more cleaning and stripping of parts.
filthy....
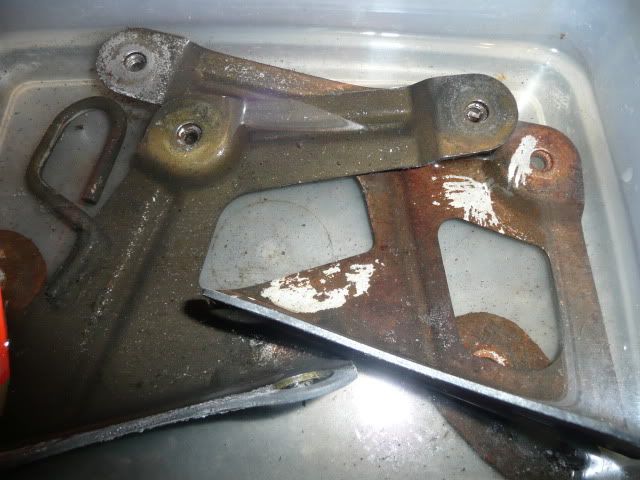
after vinegar..
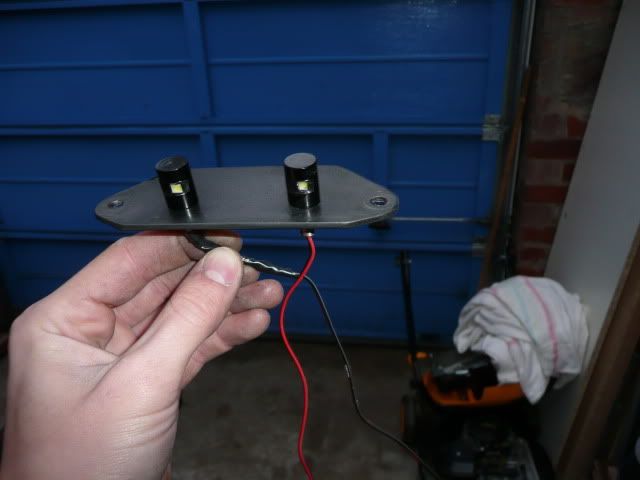
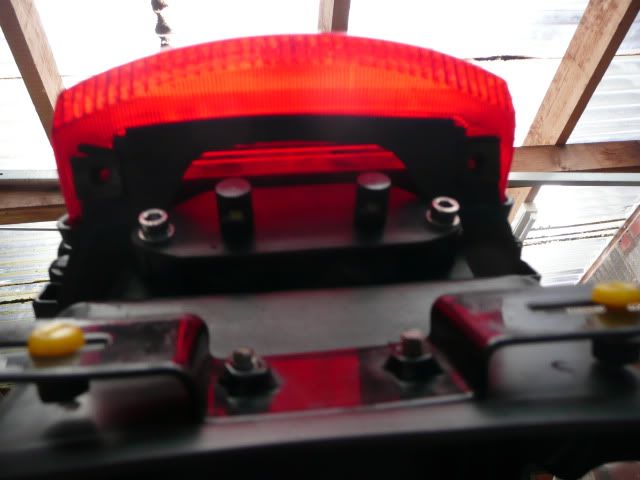
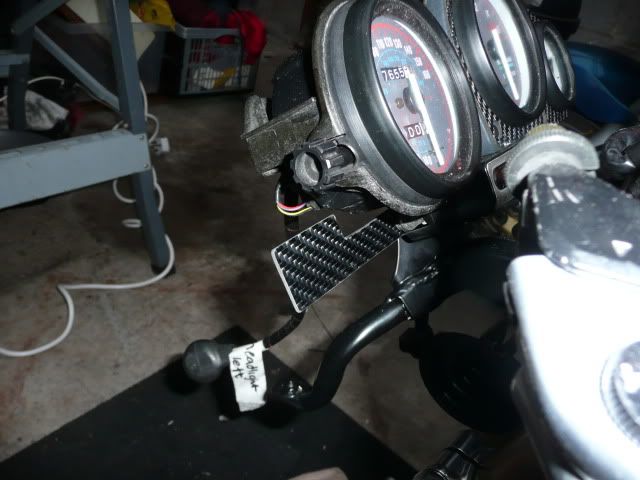
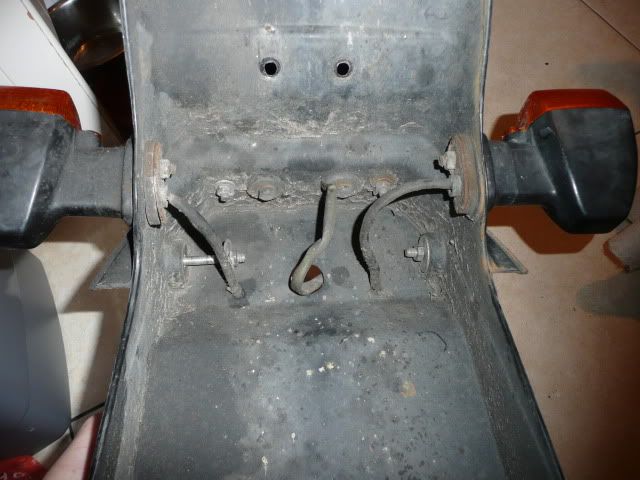
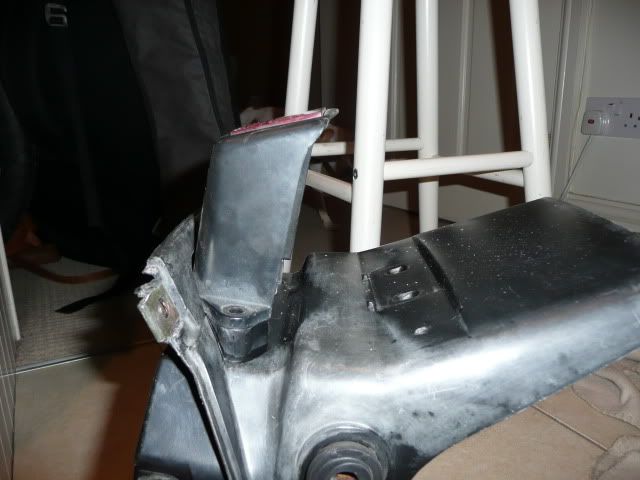
Next I tackled the rear number plate light and holder as I feel the unit is rather bulky.
before
I measured out a template of the base once the plastic was removed
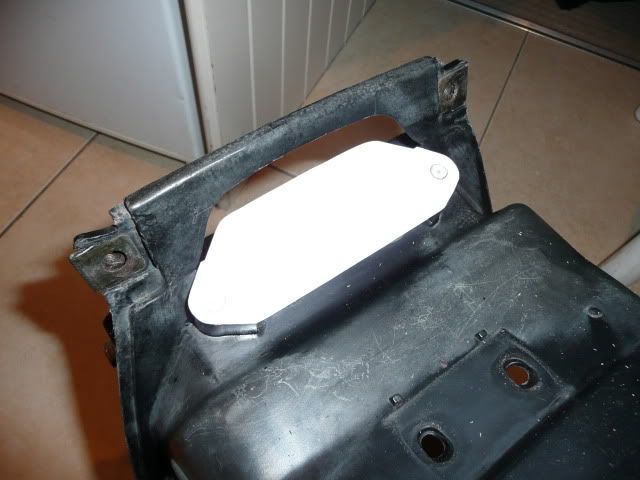
I then cut 2.5 inches off the bottom of the number plate holder to shorten the piece. The covering plate was then made from the excess plastic that was removed.
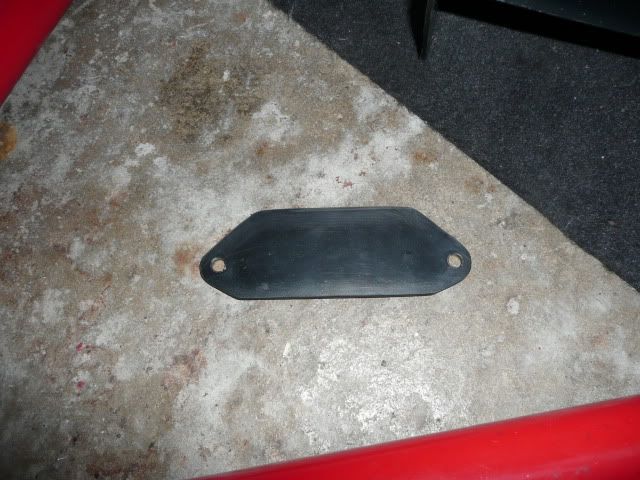
I tidies up the plastic under the rear indicator holes to create a nice smooth rear end which doesn't look too dissimilar from the oem piece and bolted the cover piece on. My plan is to get some subtle, black led numberplate bolts to hold the cover plate in place, these will then project down onto the numberplate.

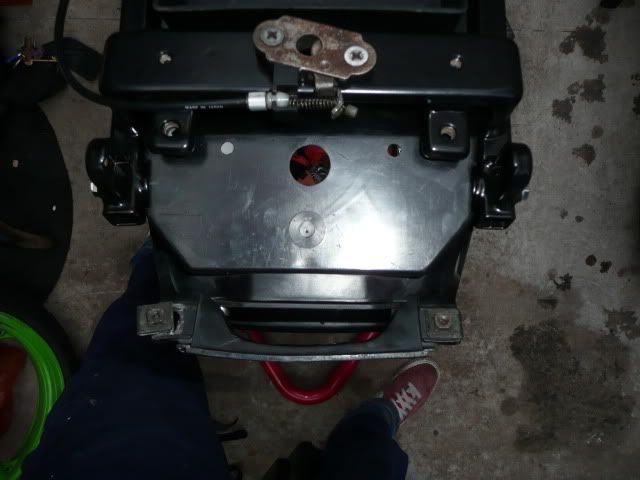
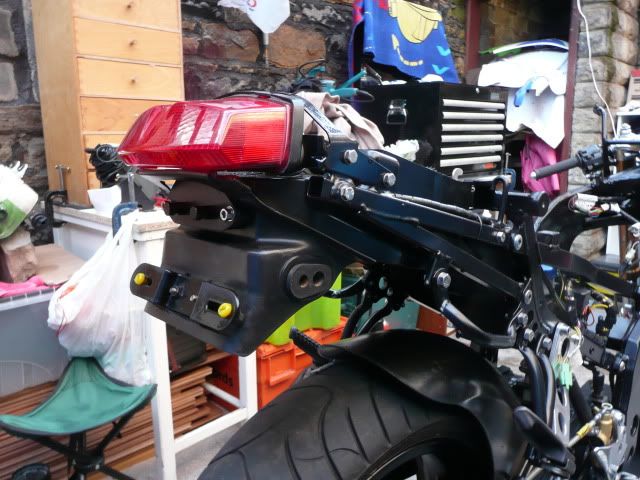
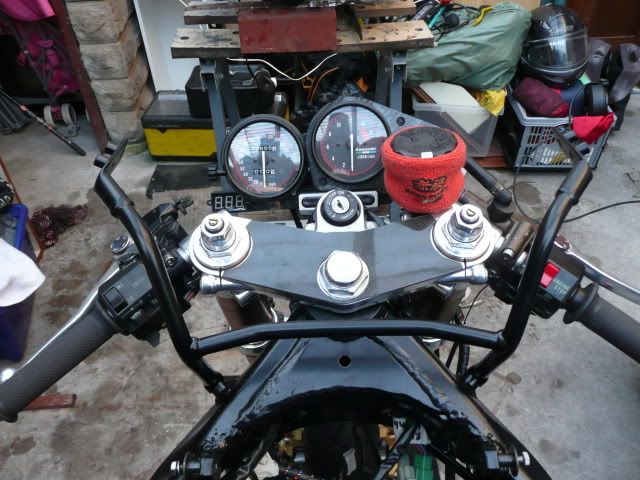
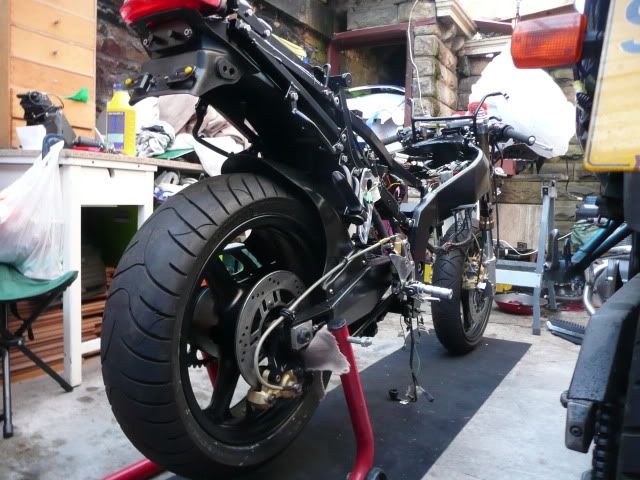
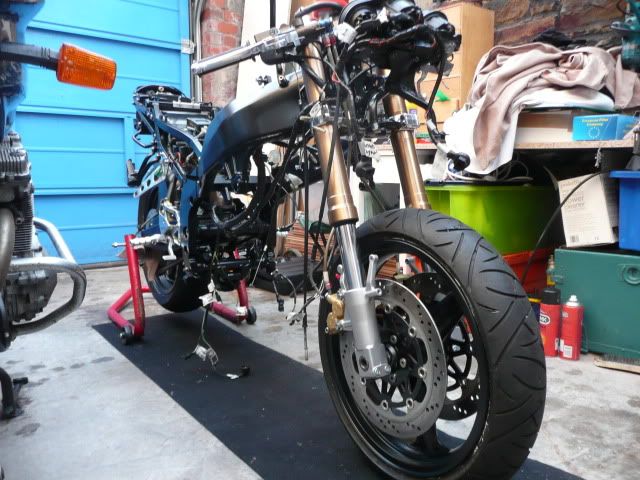
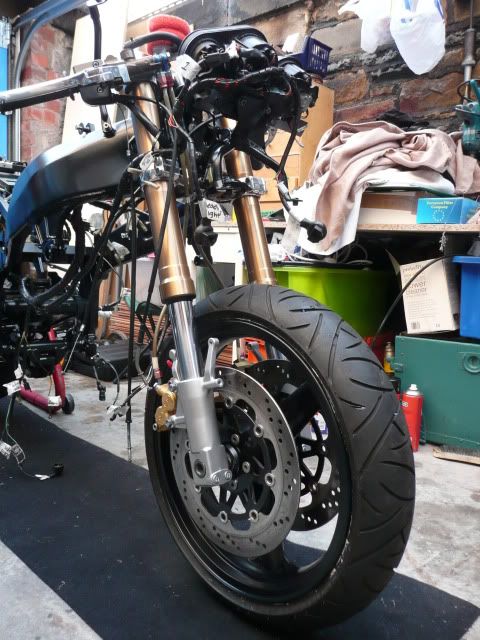
I then made more progress with putting the bike back together
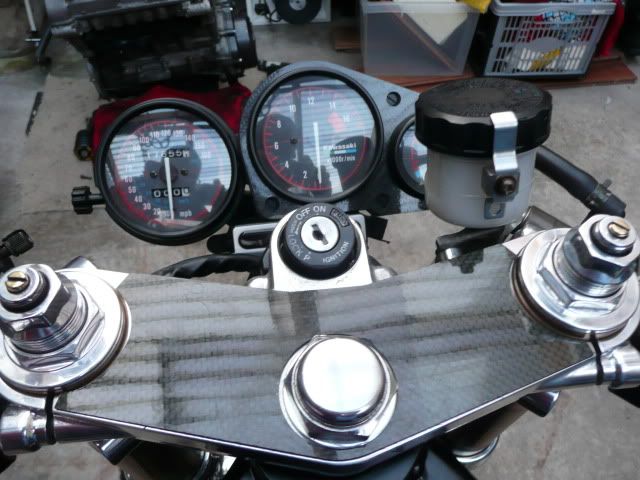
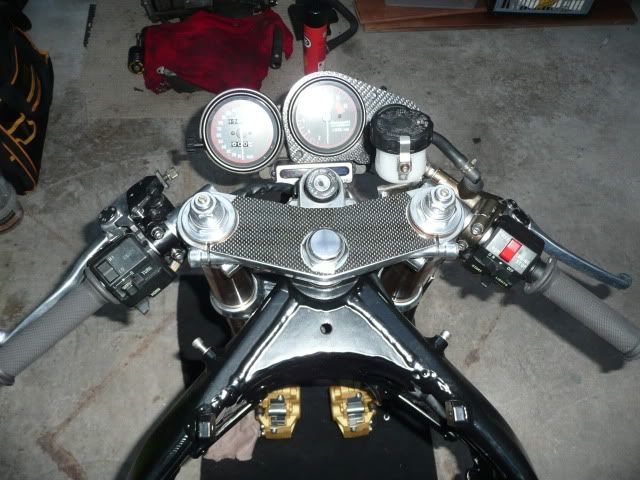
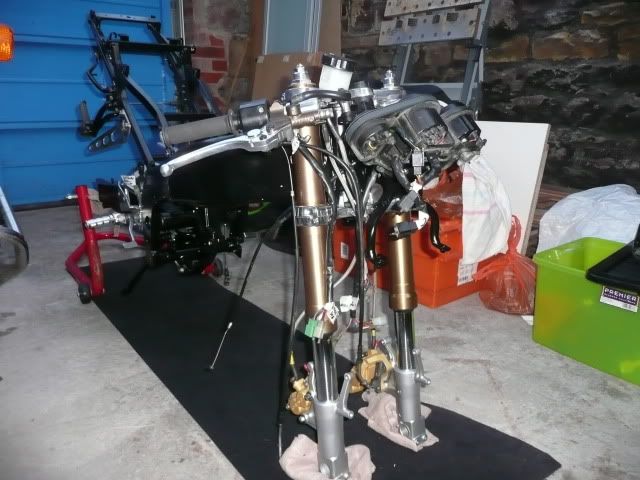
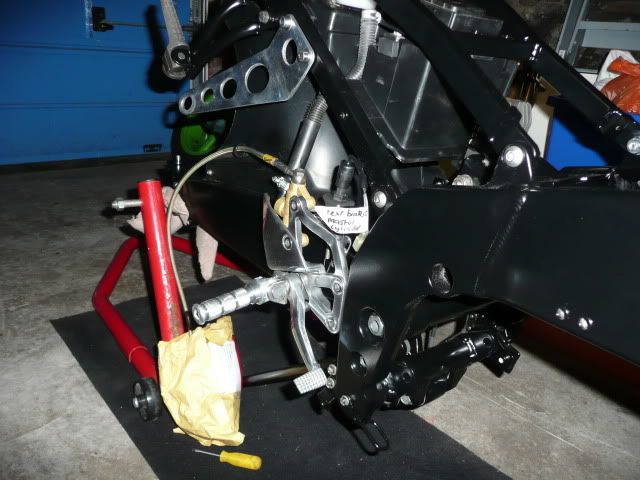
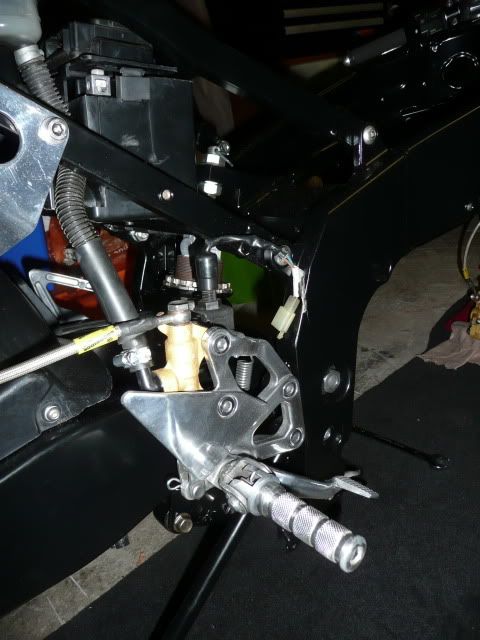
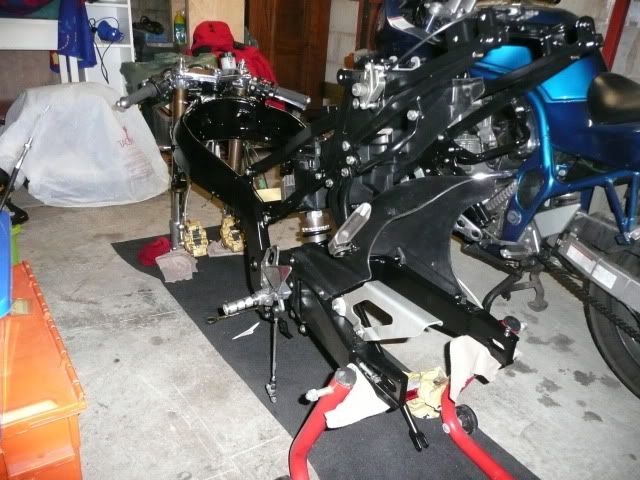
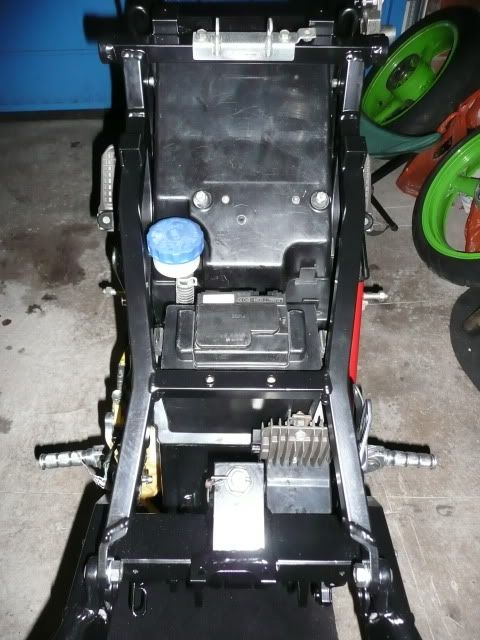
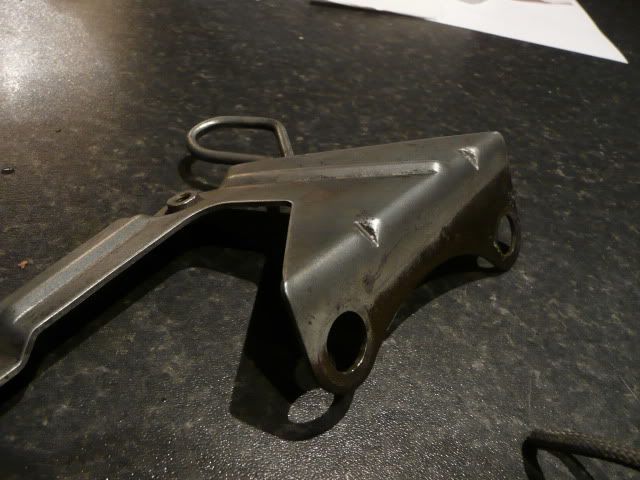
Painted a few more brackets also
Wheels went off for powdercoating yesterday so i should have a good update when they return. The wiring loom is now in and I have started to clean the engine.
Re: L2 resto - first time for everything
Posted: Tue Dec 13, 2011 11:41 pm
by hive_world_junkie
Kudos on the resto mate, i am currently doing exactly the same thing on an L1, just got the frame back from the powder coaters in gloss black, really liking the satin black on yours!! by the look of things your making good progress i will stay tuned into this thread to see how it turns out!
Are you just using 2Pac paint for the brackets etc. after stripping the rust off?
did not think of vinegar! i will try it on all the minging components i have!
Re: L2 resto - first time for everything
Posted: Wed Dec 14, 2011 8:00 am
by stonemonkey
Hi, good luck with your resto. Get some pictures up! I bought some high temp caliper paint that did not need a primer for the calipers and the majority of the brackets have been done with satin hammerite from a can with great results! The vinegar is great, just be patient and give it a scrub every so often to loosen the rust/grime. It does however stink so Id advise against doing it in the house like me....


Re: L2 resto - first time for everything
Posted: Thu Dec 15, 2011 4:37 pm
by hive_world_junkie
I will pop some up over xmas when i've made some serious progress worth documenting, bearing kit arrived for the swing arm today but the powder coater is messing me about with the swing arm :/
It will be interesting to see how well the Hi temp stuff copes in the long run!
the vinegar processing plant is up and running and i cannot believe how much it strips the metal!! top tip for the future, who needs a sand blaster ha! looking forward to spraying stuff up now. My deadline for the project is May which should be more than enough time to get her on the road

Re: L2 resto - first time for everything
Posted: Tue Dec 20, 2011 4:30 pm
by Danman109
Hey, I had no idea about the vinegar trick!
i'm currently in the process of some light resto/tuning work myself.. what vinegar do i use and how long does it need to be left? I took a peek when this was started and your bike is really coming along! congratz

Re: L2 resto - first time for everything
Posted: Tue Dec 20, 2011 5:16 pm
by stonemonkey
Hi, cheers for the comments, I used Tesco distilled vinegar. about 30p for 500ml. time wise it depends on how bad the surfaces are. usually 8-36 hours. Just keep checking and aggravate the surface with a wire brush or the like half way through to get a quicker process.
Re: L2 resto - first time for everything
Posted: Wed Dec 21, 2011 2:29 pm
by Danman109
stonemonkey wrote:Hi, cheers for the comments, I used Tesco distilled vinegar. about 30p for 500ml. time wise it depends on how bad the surfaces are. usually 8-36 hours. Just keep checking and aggravate the surface with a wire brush or the like half way through to get a quicker process.
Awesome! i'll give it a go

does this take of any paint etc too? thinking of doing this to a bucket full of bolts and other bits and pieces, realising though that unprotected they will rust over again quite quickly? any ideas?
Re: L2 resto - first time for everything
Posted: Thu Dec 29, 2011 8:30 pm
by hive_world_junkie
Ive been using the tesco vinegar trick and with my suspension linkages i have noticed that if you leave them long enough (due to too much christmas dinner and being far too lazy) it does seem to rust but only a very thin layer which can be removed with your trusty wire brush. id say make sure you dry them out thoroughly!!
Re: L2 resto - first time for everything
Posted: Fri Dec 30, 2011 4:42 pm
by stonemonkey
Yeah it's important to remember it does not leave a protective coating and leaves the surface very susceptible to rusting unless it it washed thoroughly and protected with a different product. I use black spray gloss enamel on all the items I vinegar stripped with great results.
Re: L2 resto - first time for everything
Posted: Fri Dec 30, 2011 10:42 pm
by Danman109
hive_world_junkie wrote:Ive been using the tesco vinegar trick and with my suspension linkages i have noticed that if you leave them long enough (due to too much christmas dinner and being far too lazy) it does seem to rust but only a very thin layer which can be removed with your trusty wire brush. id say make sure you dry them out thoroughly!!
I came across exactly the same thing within about 5-10 mins considering i was rinsing them with water to wash off the vinegar

ive done the vinegar trick on a handfull of bolts i was gonna throw away to start with...(it worked a treat
) so while im storing them iv put them in a pot with a generous helping of chain lube (horrible stuff that i wouldnt use on the bike) WD40 seemed too light an oil and the rust came back so hopefully that will be enough to keep off the rust for now but in the long run i guess the bolts will need plating or each thread masked up and the bolt heads sprayed.. didnt fully think it through i guess

Re: L2 resto - first time for everything
Posted: Fri Dec 30, 2011 10:47 pm
by Mori Man
WD40 is Water Dispersant not an oil , try using 3-1 oil to coat parts or even engine oil.
Re: L2 resto - first time for everything
Posted: Sun Jan 15, 2012 1:14 pm
by Danman109
Mori Man wrote:WD40 is Water Dispersant not an oil , try using 3-1 oil to coat parts or even engine oil.
did the trick, i had an old can of stringy chain lube lying around.. downside, its REALLY sticky but its not going rusty..
Re: L2 resto - first time for everything
Posted: Sun Jan 15, 2012 6:01 pm
by stonemonkey