Page 1 of 4
USD Conversion on my 400
Posted: Tue Jun 12, 2007 1:25 pm
by Mori Man
Some of you might already know that I have a ZRX400 & not a ZXR400

However, I am installing a ZXR400H1 front end and a set of wheels on it too

I will add photos to this thread as soon as I am able - have been cataloging my progress

As of today it is full steam ahead on the swop over and I hope to do my first road report on Saturday.

Lots more to come

Posted: Tue Jun 12, 2007 1:36 pm
by masterofinsanity
look forward to seeing pics and don't worry bout it not being a zxr400 neither is mine

Posted: Tue Jun 12, 2007 4:43 pm
by masterofinsanity
oops i split the wrong post naughty me.
Getting the parts ready
Posted: Thu Jun 14, 2007 1:06 pm
by Mori Man
Top clamp & Semi-polish
Posted: Thu Jun 14, 2007 1:10 pm
by Mori Man
Posted: Thu Jun 14, 2007 1:13 pm
by RedexRobB
wow thats some good work you done there mate! keep it up!
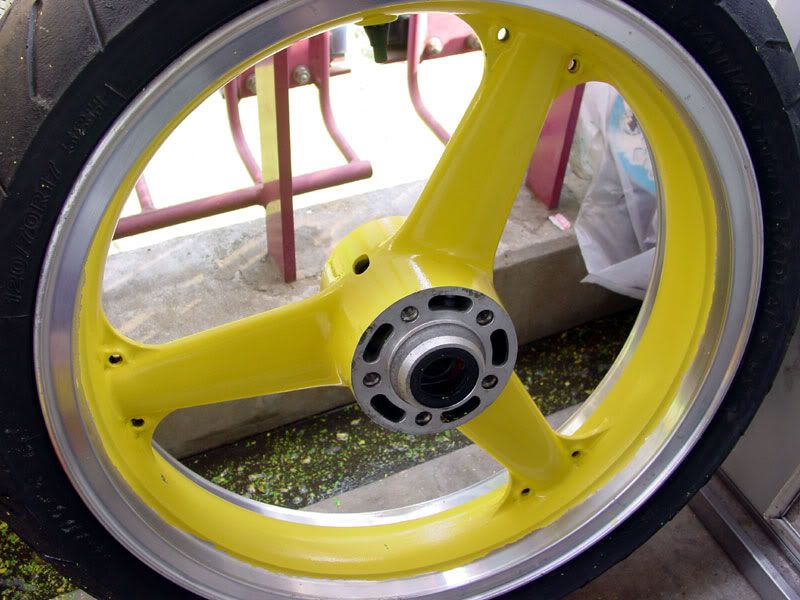
Wheels stripped for painting
Posted: Thu Jun 14, 2007 1:17 pm
by Mori Man
Front muddy & Plastic welding
Posted: Thu Jun 14, 2007 1:26 pm
by Mori Man
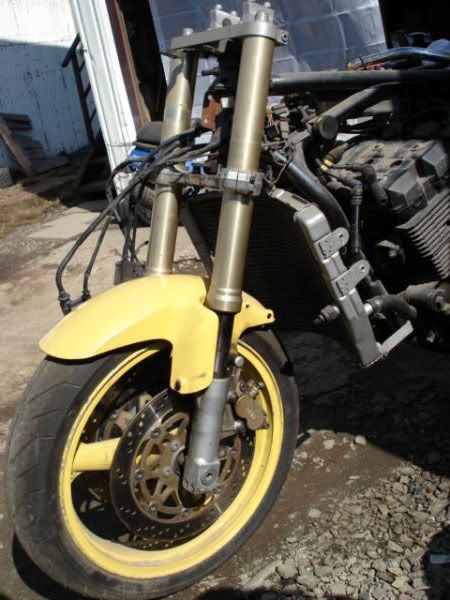
Stripping front end off ready for the swap
Posted: Thu Jun 14, 2007 1:30 pm
by Mori Man
Start the re-build
Posted: Thu Jun 14, 2007 1:39 pm
by Mori Man
Things are going well so decide to locate the bottom clamp;

I gave the bearings a fresh grease up! , and installed new seal's top and bottom;

After that it was back on with the bars;


Wanted to see how the Bikini was going to line up with everything;

.... and I picked up my forks around 6.30pm so had time to slide them in too see how they looked too

(That was yesterday)
Posted: Thu Jun 14, 2007 1:46 pm
by masterofinsanity
looking good mate, keep the pics coming.
1st road test
Posted: Thu Jun 14, 2007 1:58 pm
by Mori Man
Start of rainy season today so was up and out early before it started to piss down

The front wheel got a new tyre fitted on it on Monday so it was sitting ready to go on;
I went round and checked all my fixings for secureness and placed the ignition barrel under the seat. No clocks fitted just now - all will be revealed later! As you can see the muddy also went on in it's primer coat to allow me to have a run before the rain commenced;


This is a rough build just now to get that 1st road test in and iron out the bugs over the next 4 weeks of rain. Come end July I should have nearly all other parts in place to finish but I will have cured all the little niggles like the "lock to lock" is too small and I need to do a 20 point turn!! Locate the ignition barrel for more practical use.
The performance already is stunning and I can't wait to start dialling in the suspension to bring out the best in it
Rear wheel will need to wait until my existing tyre is a bit more worn as it is only 3 weeks old.
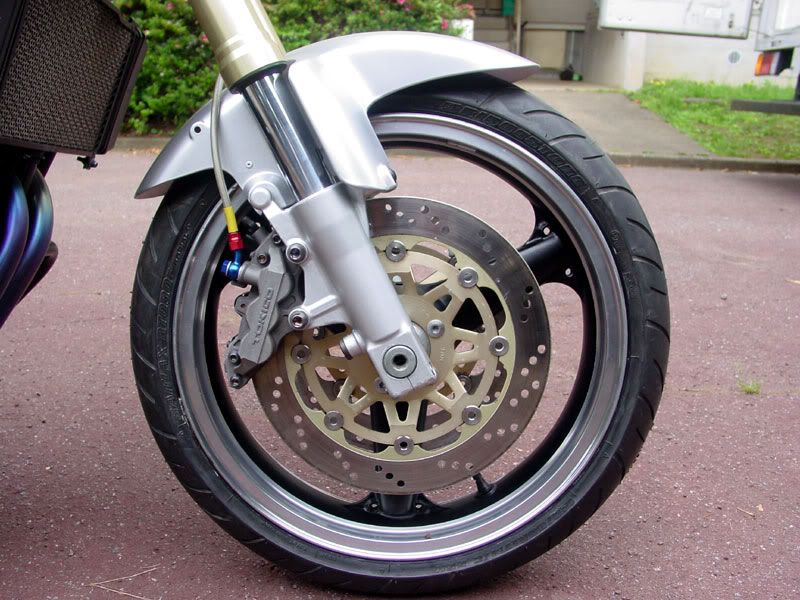
What it might look like nearer the end;

Posted: Thu Jun 14, 2007 2:16 pm
by masterofinsanity
very nice again, wouldn't mind a zrx myself but think i'd go for the 1200
Posted: Thu Jun 14, 2007 3:35 pm
by gubbs
Looks amazing! Very nice bike indeed.
I have a few questions:
Nylon polishing pad to bring up the ally 'semi polished' looks great, much better than a full polish imho.
Was that all you did? Nylon pad? No other prep or treatment?
Also re: the paint you used on the wheels, was that rattle can or compressor job? What process did you follow? Prep with fine paper, prime, colour coats then t-cut it? Or just clear coat?
Posted: Thu Jun 14, 2007 4:04 pm
by rene
that looks lovely, makes you feel warm and fuzzy to no that poeple still care about older bikes!
excerlent work