
Time depends on how clean the carbs are, mine took me in total about 8 hours to do all 4, although this included all the sonication steps to clean everything. If you are just changing jets and needles expect ~15 minutes per carb to strip and the same to assemble.
Ok tools you will need:-
phillips screwdriver
thin screwdriver
pliers with a covering over the tips
3mm (i think) allen key
8mm (i think) socket/spanner
Dissassembly
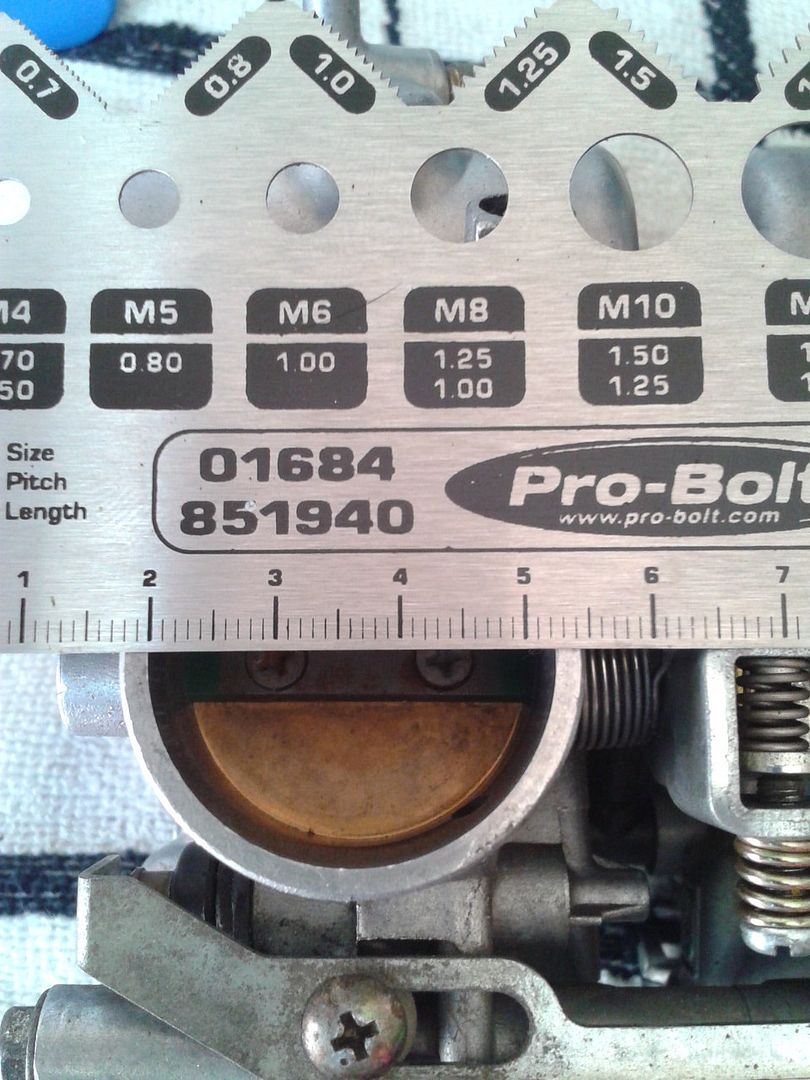
First thing, check your carb internal diameter, they come in 30mm and 32mm versions, according to RedexRobB 30mm gives better midrange, 32mm gives better top end. These are 32mm:-
Ok mine came with the velocity stacks already removed, you will need to remove these and the plate on top to give:-
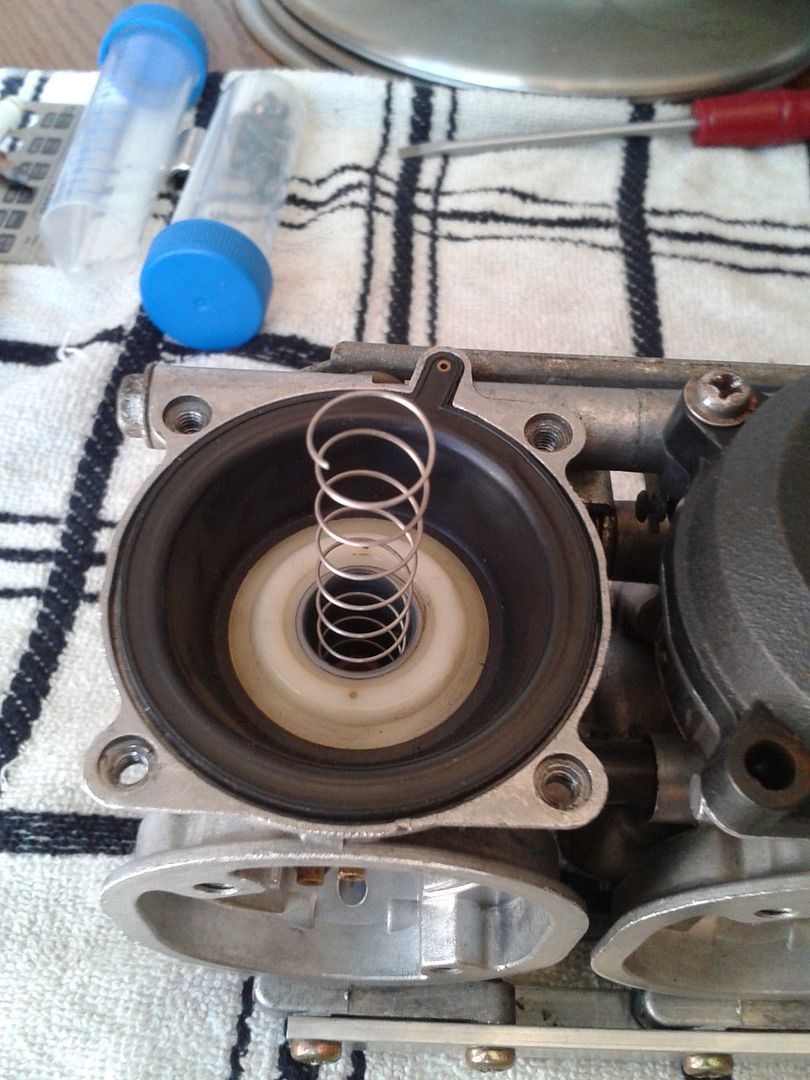
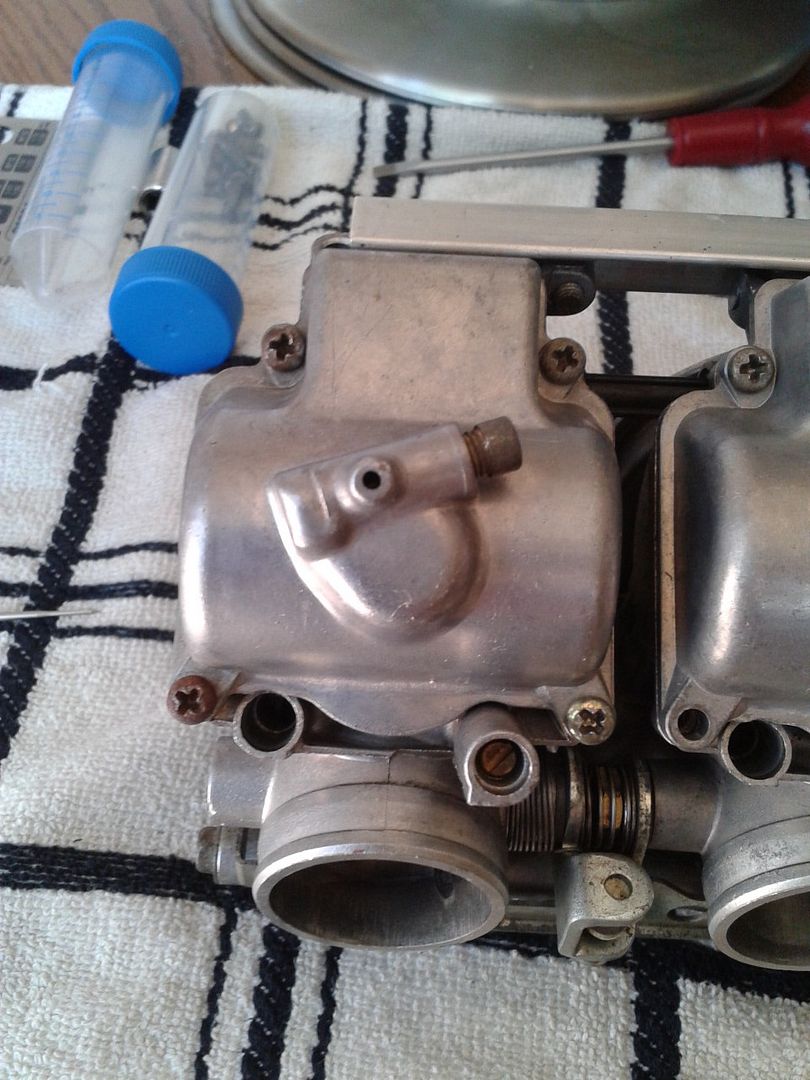
Now remove the (i think) vacuum cover, 4-screws:-
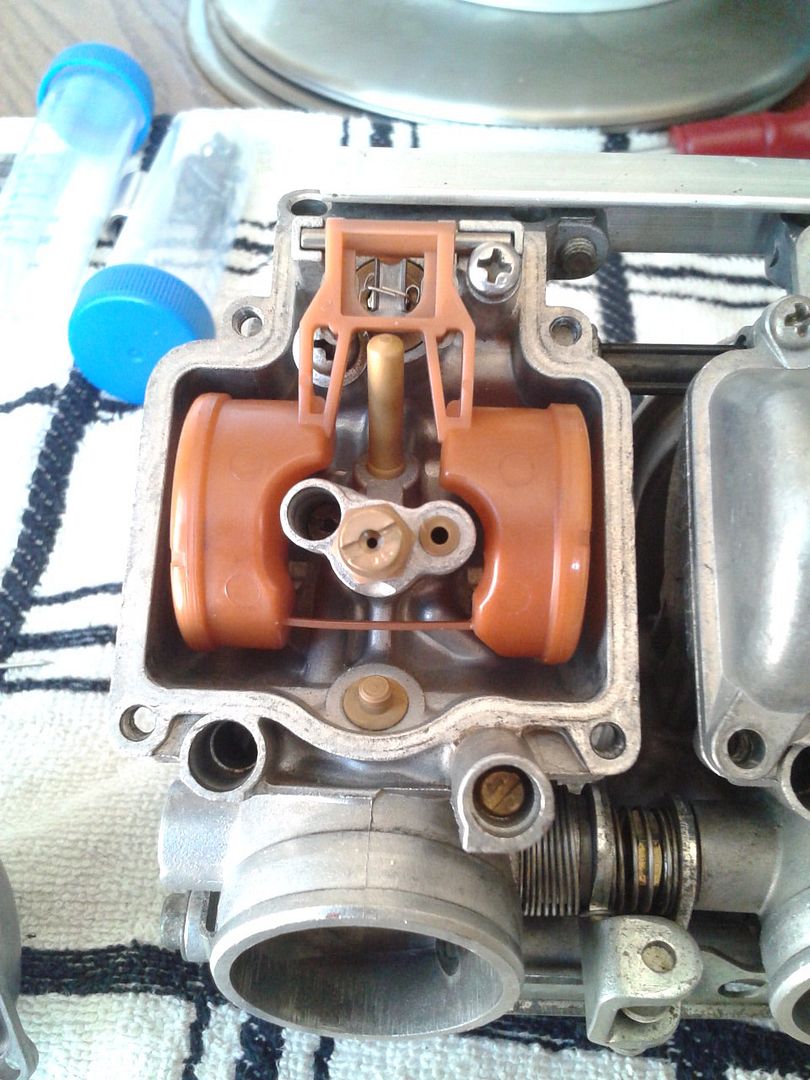
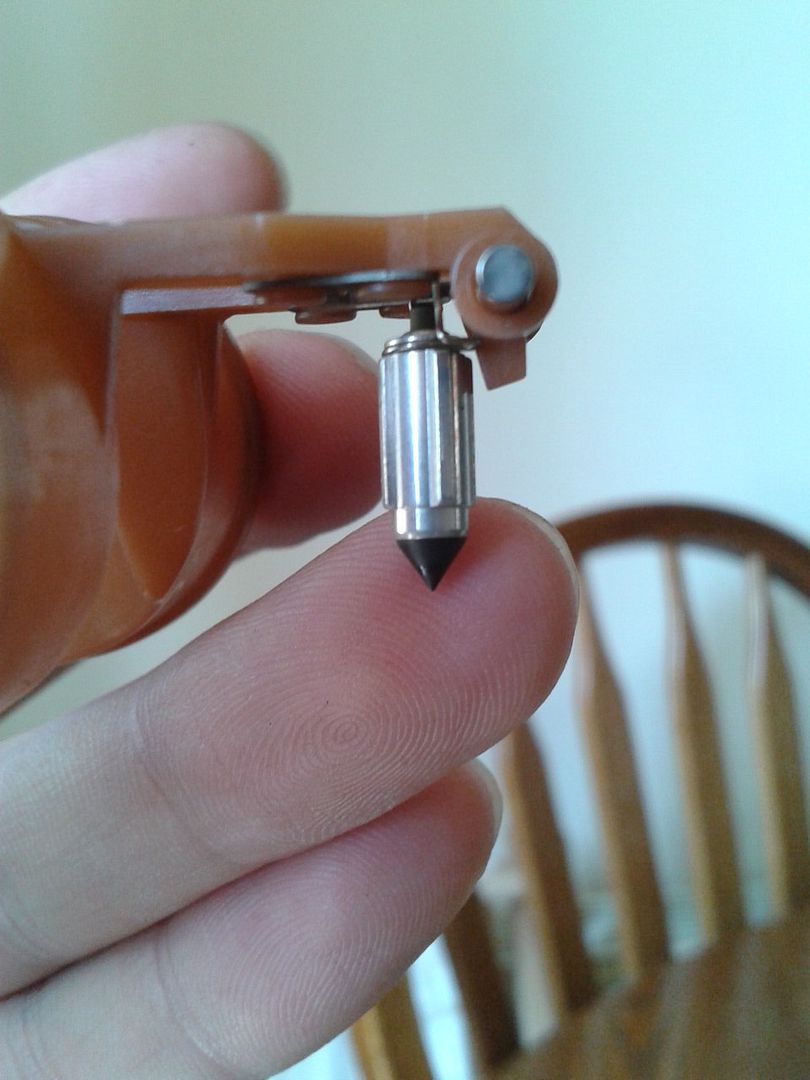
Take off the cover and remove the spring and the orange plastic bit:-
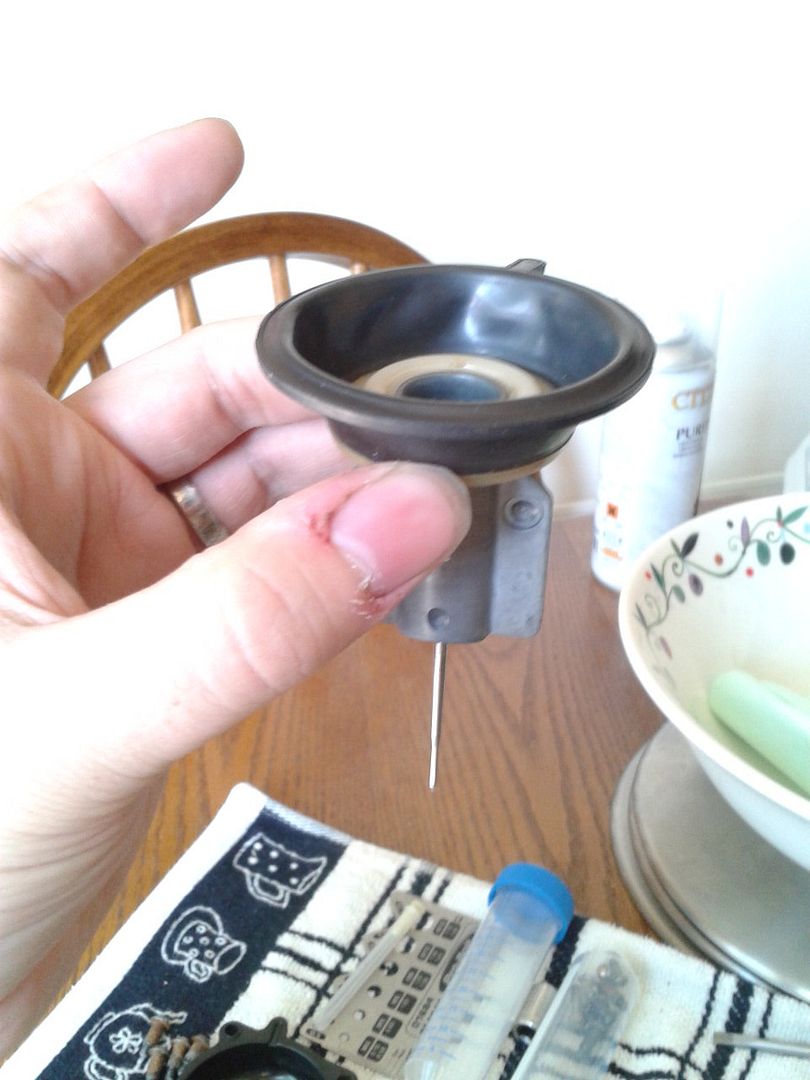
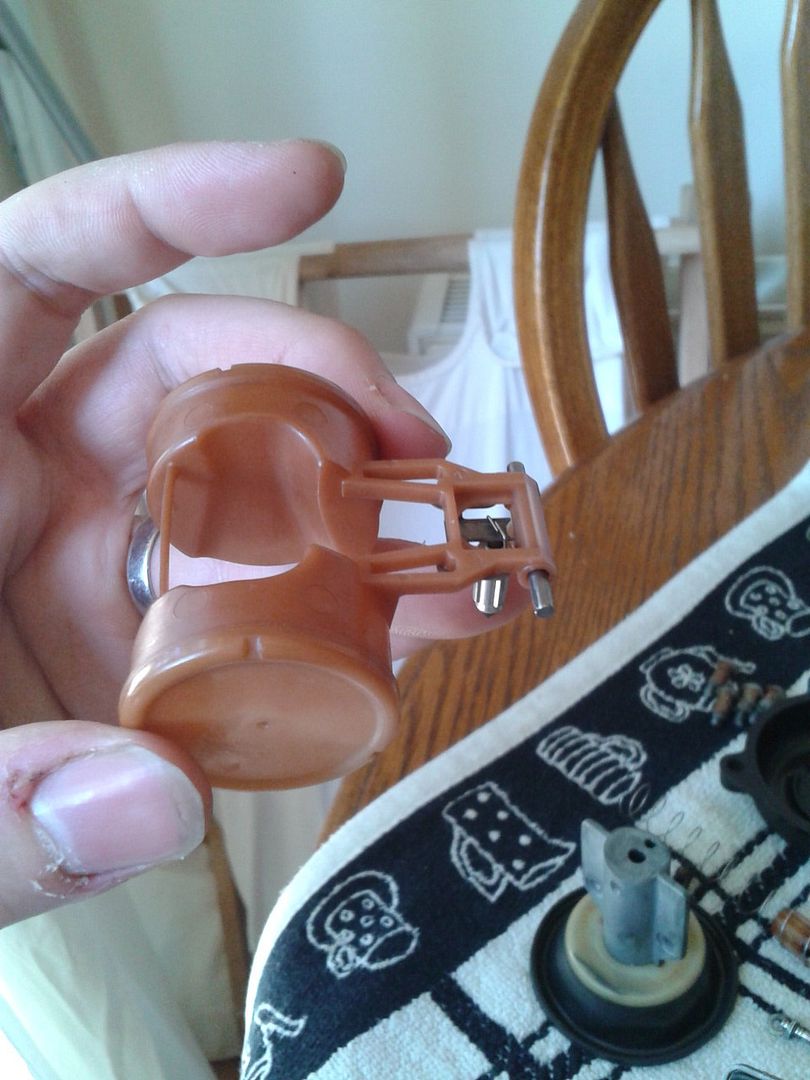
You can then take out the rubber slide holder/seal along with the jet needle, check the rubber boot for tearing/warping etc and replace if needed:-
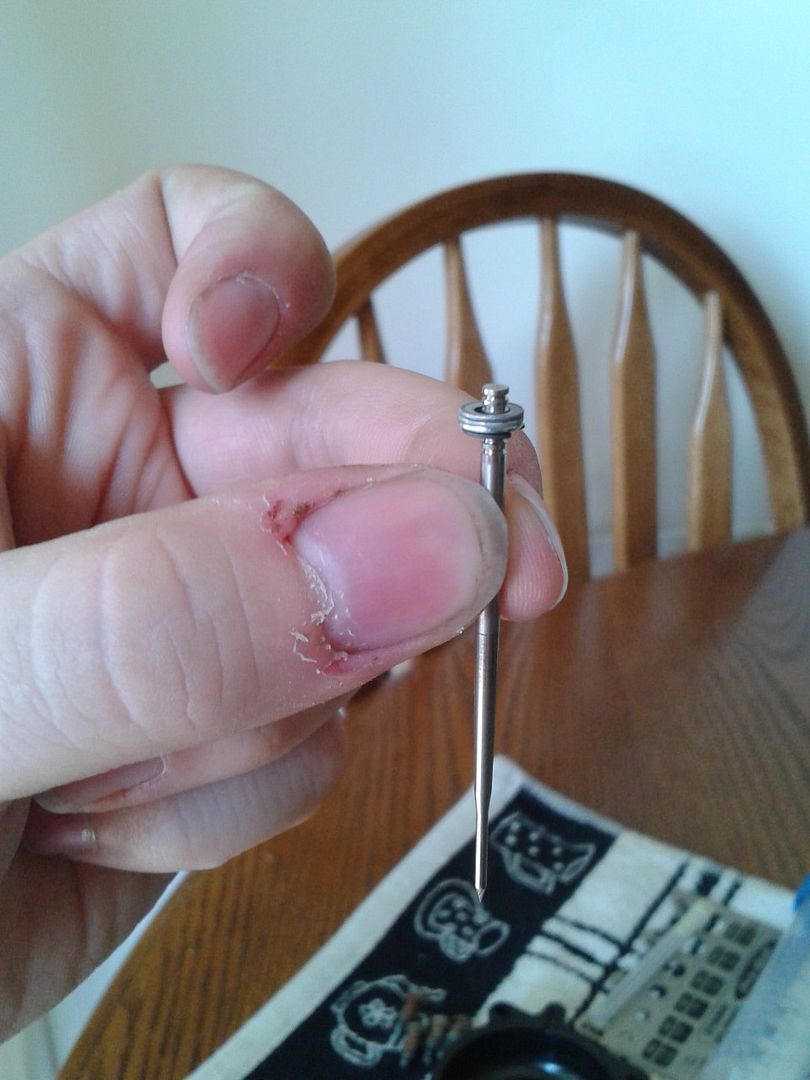
Carefully remove the jet needle, you will have a small clip on one of the grooves and possible some small shims on top. I have 6 grooves, my clip is on #4 (from the top) and i have 3 shims on the needle. These were taken from a ram-air dynojetted race bike so DO NOT USE ANY OF THESE SETTINGS AS STOCK SETTINGS! Yes i know my nails need clipping and my cuticles are a mess girlfriend
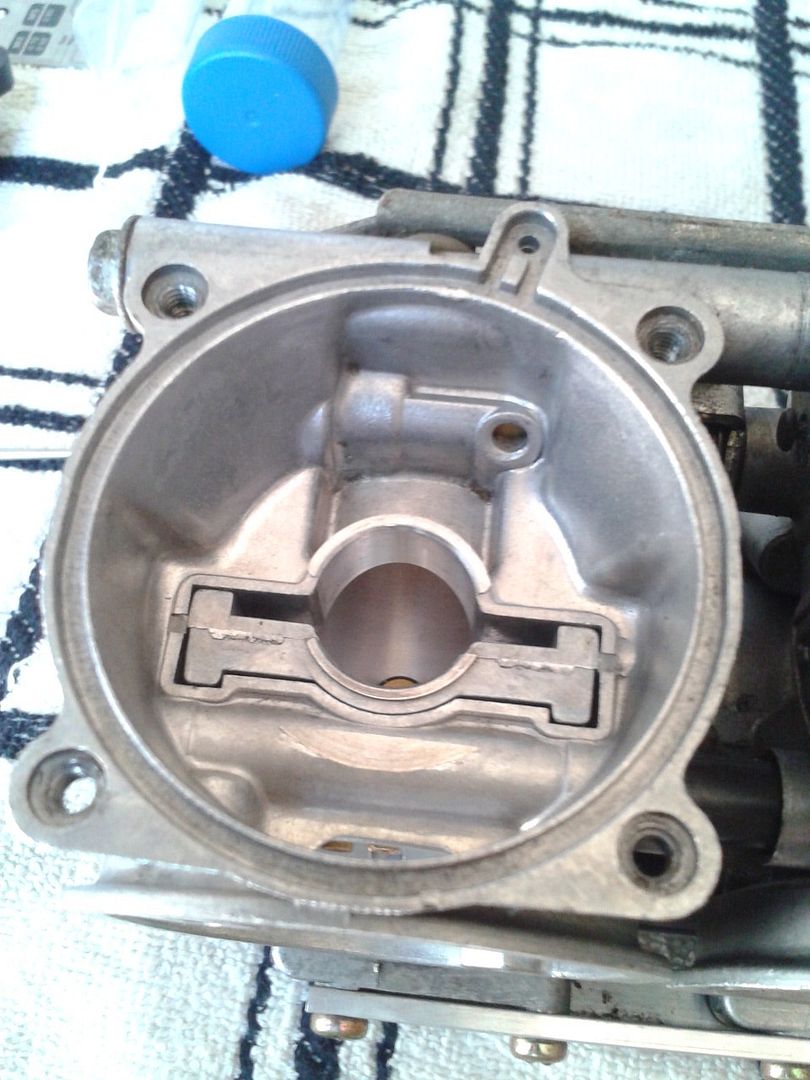
Clean!:-
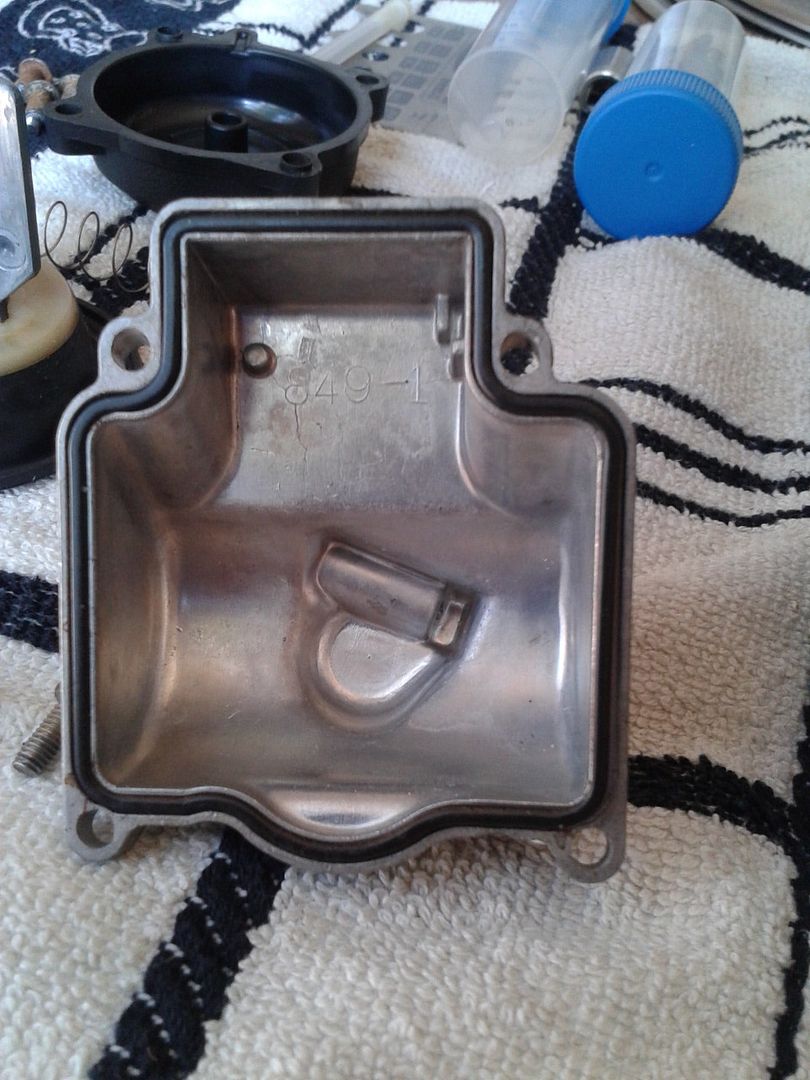
Next, flip the carb over and remove the 4 screws holding in the back of the fuel cover:-
Clean it! Also remove the fuel drain screw (allen key) and clean around there as well:-
Remove the screw in the top-right corner to free the orange fuel float:-
Then you can remove the assembly:-
Check the black plastic bit for damage, its what regulates fuel flow into the carb, if damaged replace:-
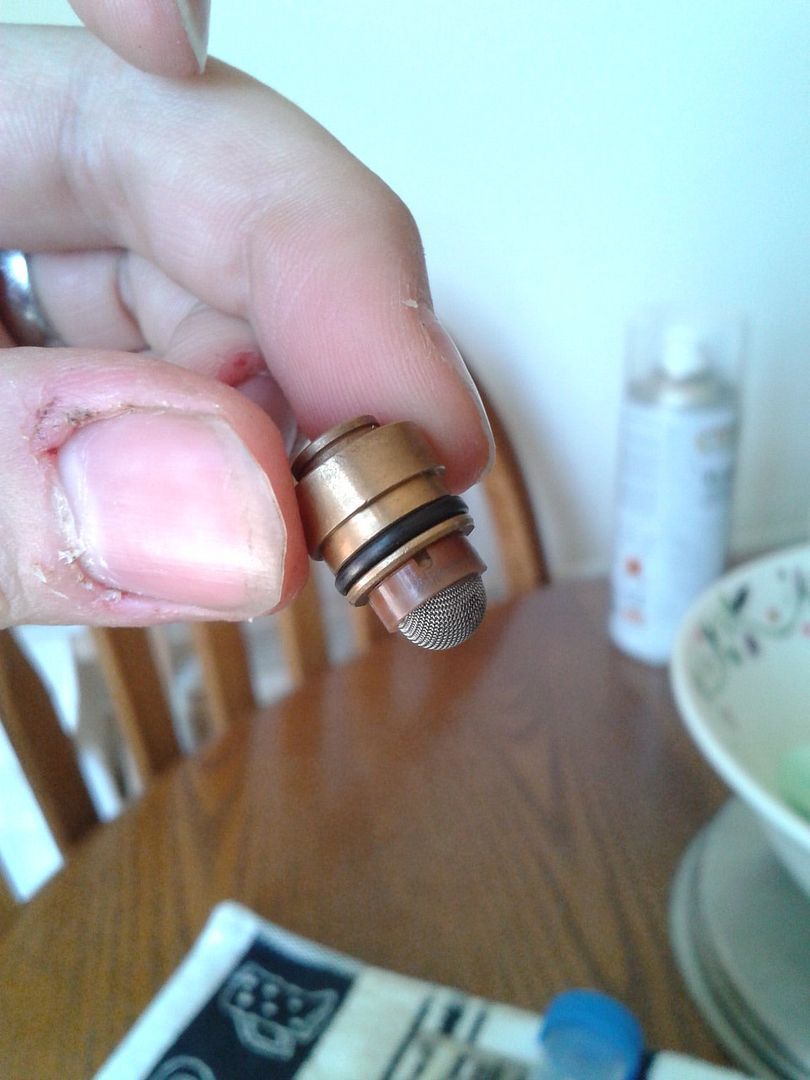
Remove the screw in the top-middle by the brass bit to gain access to another smaller fuel filter:-
Use your covered pliers to remove it:-
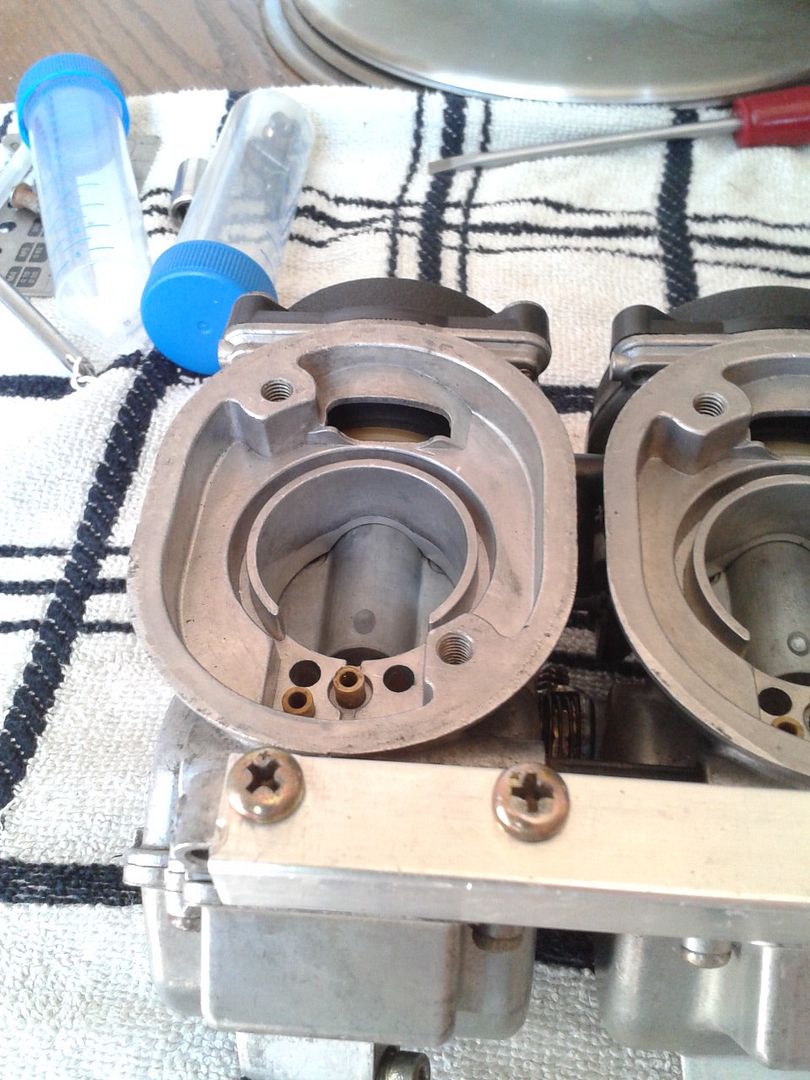
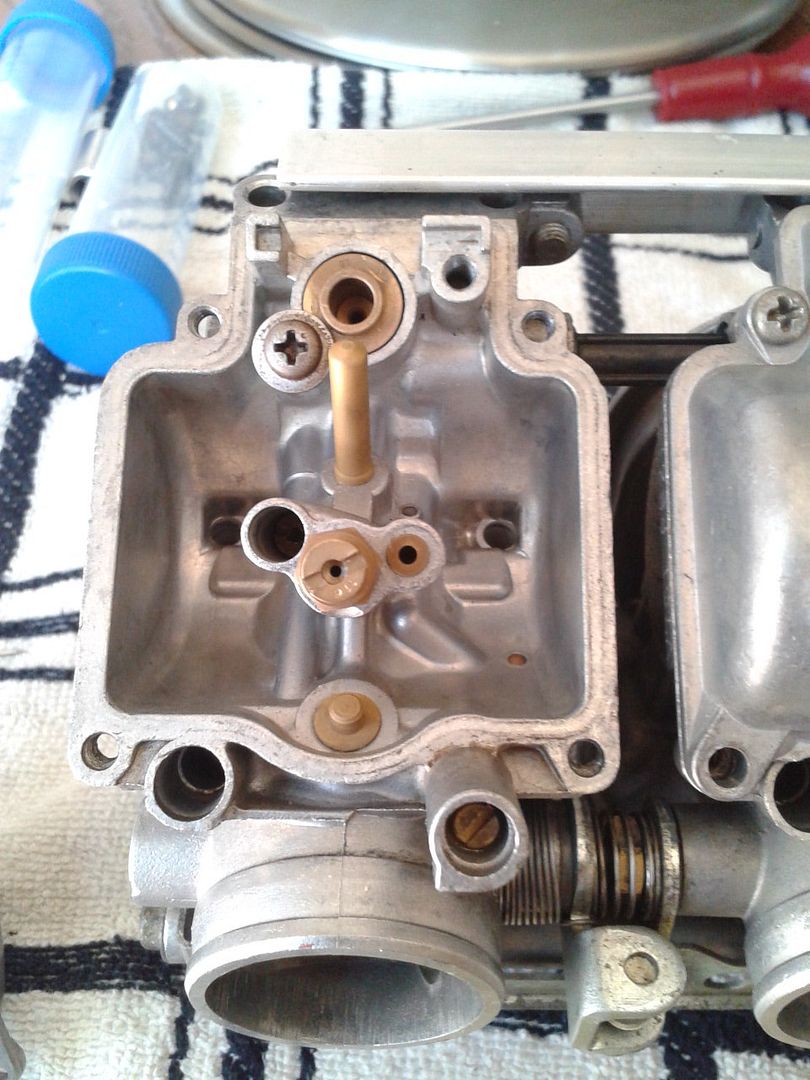
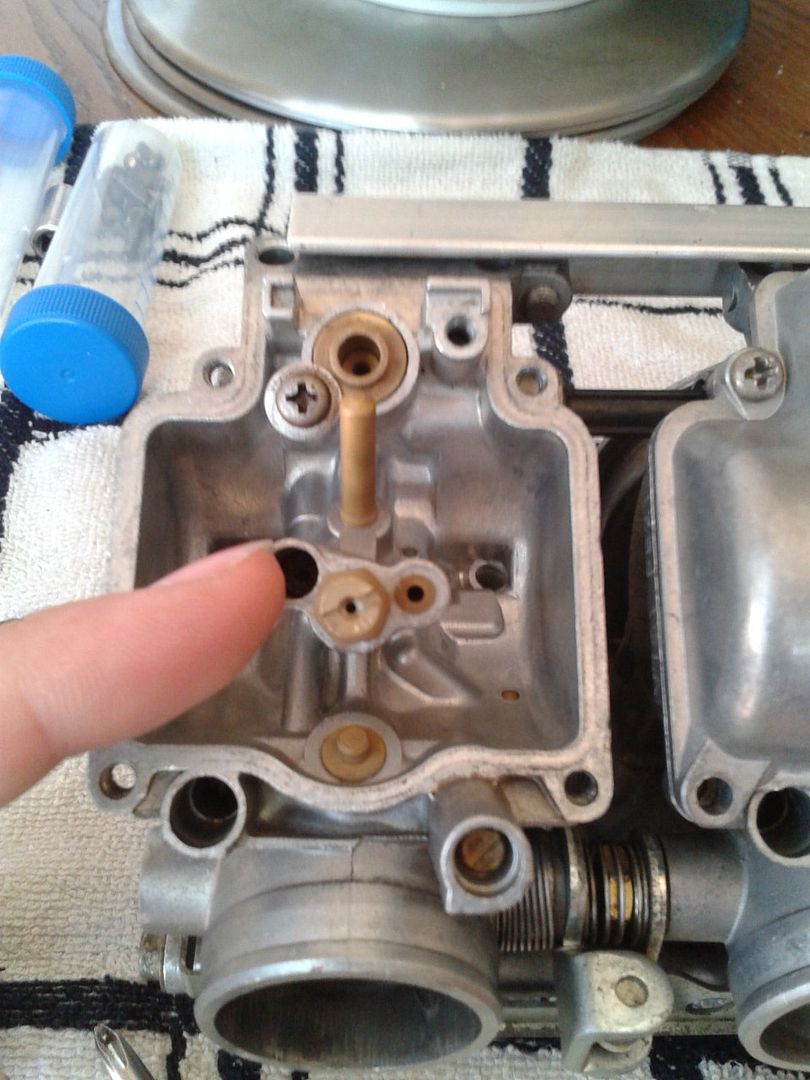
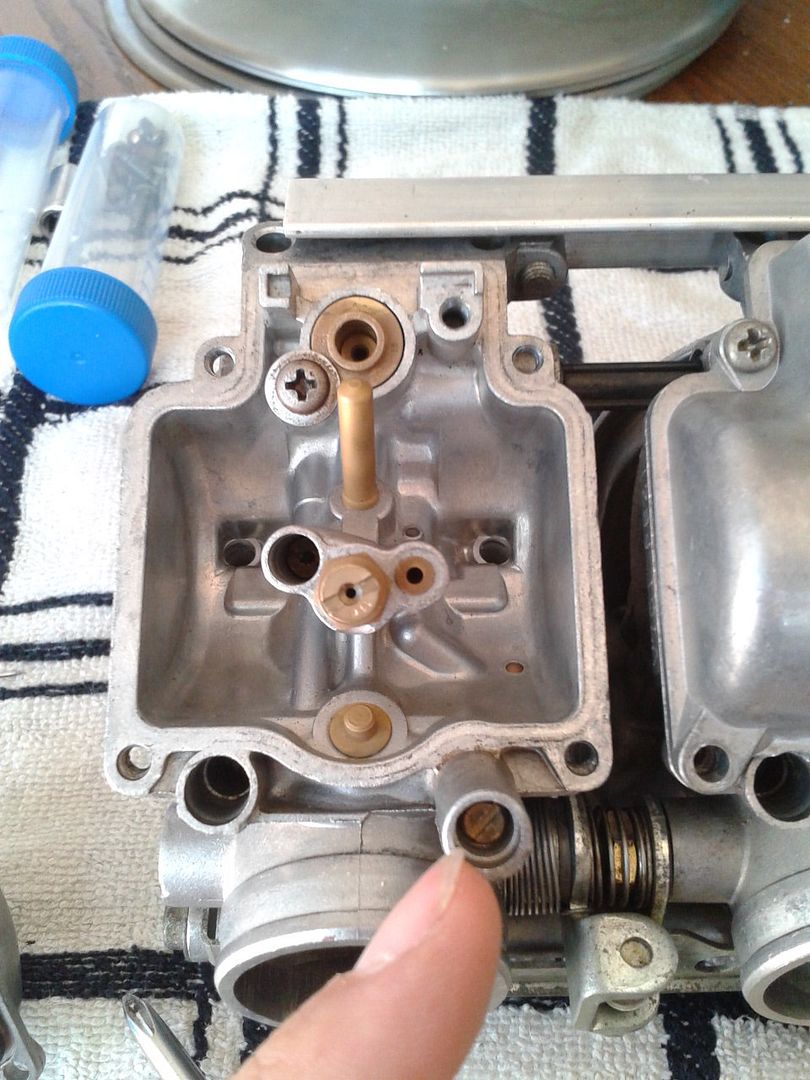
Onto the jets! This is the pilot jet, remove and clean:-
This comes in 2 parts, use a screw driver to remove the main jet, then use a socket/spanner to remove the brass bit that the main jet screws into. This brass tube is the needle jet holder...clean everything!:-
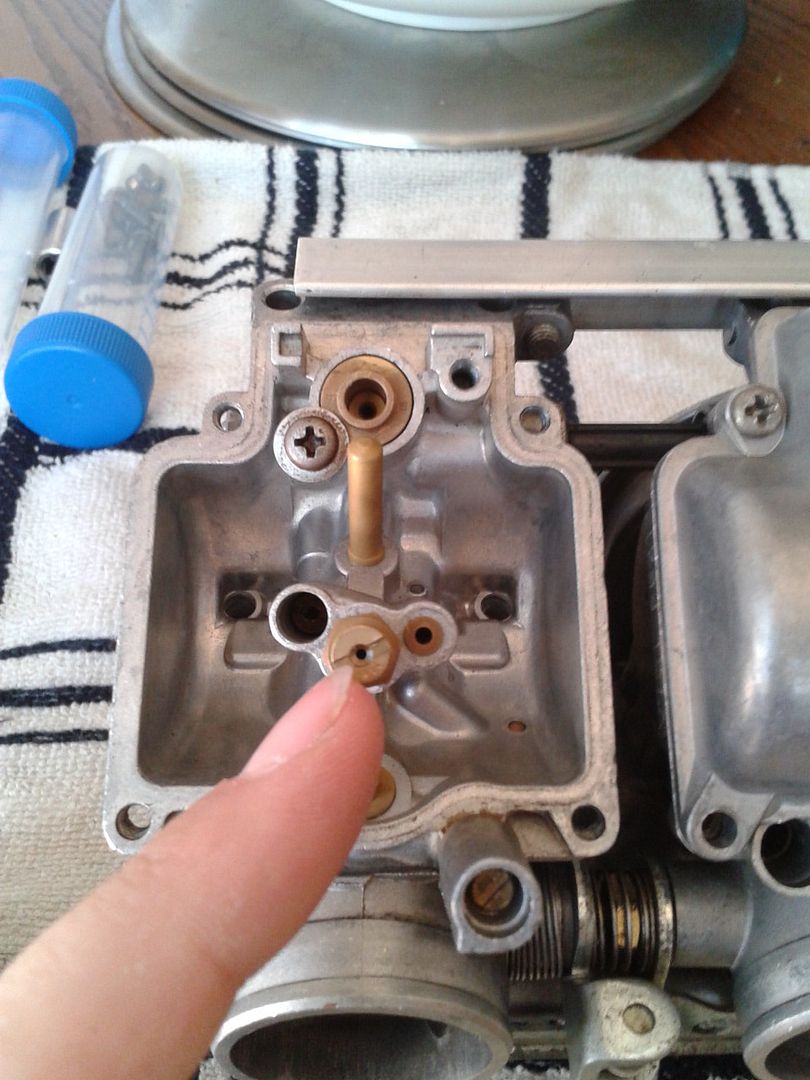
This is the pilot air screw, remove and clean. Once removed there should be 4 parts in this order, Screw - Spring - Metal ring - O-ring, make a note of how much this has been "screwed out" from fully screwed in. Manual states anything from 1.5 turns out to 2.5 turns out, turning it out richens the mixture:-
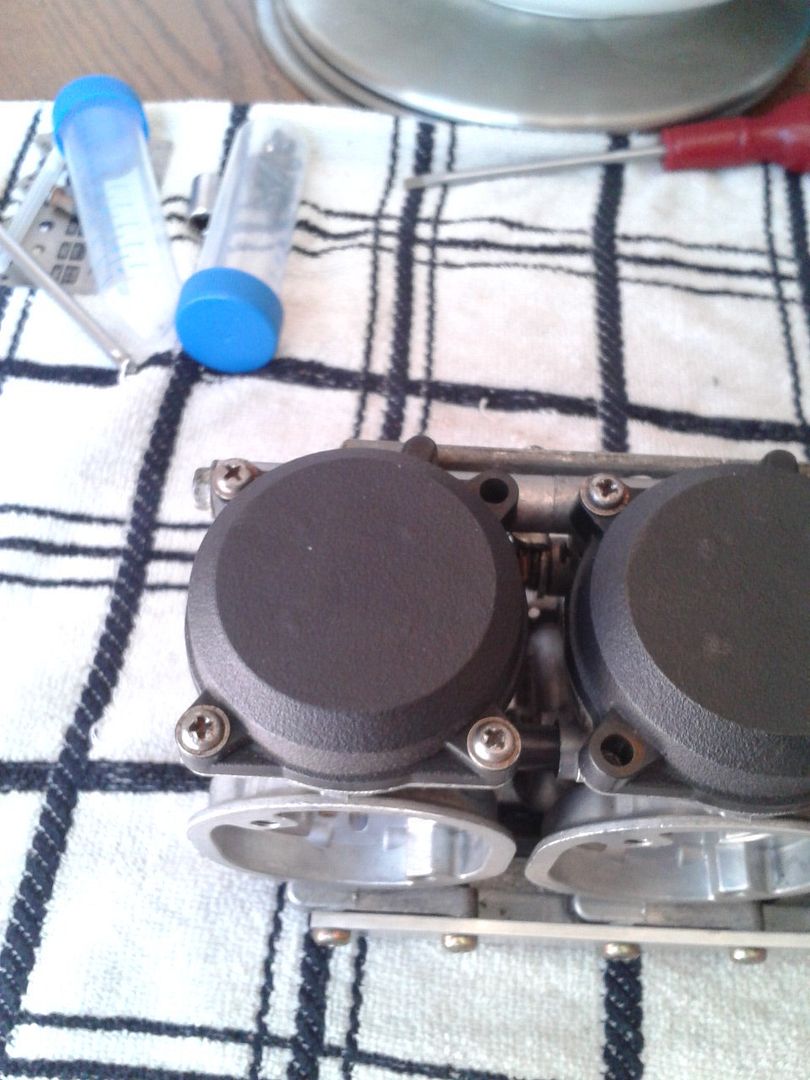
Put it all back together and it should be spanking clean like this:-
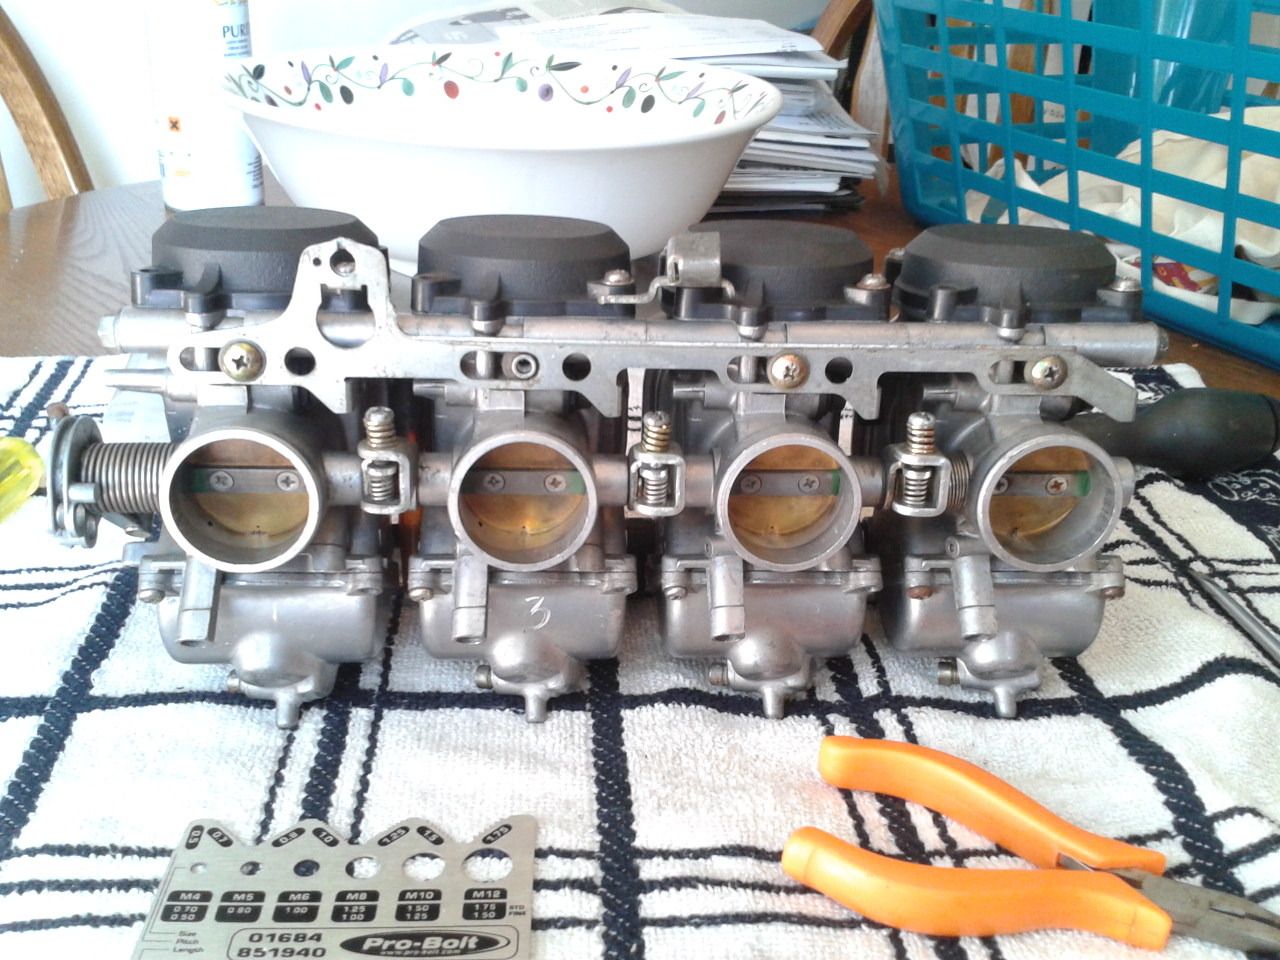
Put back on bike and give it a test with your new clean carbs!
I am not going to cover carb-tuning here, that will be for another guide.
One final point, i mentioned sonication, i used a sonication bath at work to clean everything. Brass/pure metal things can be cleaned in 100% acetone/carb cleaner, if you can get some heat in there do so, and sonicate for 15-30 mins changing the solution when it starts to go manky, repeat until the acetone remains clear. The main carb body i sonicated in water as i wasnt sure what acetone would do to some of the plastic parts...it tends to dissolve things fairly well. Then i washed the main body in 100% ethanol, making sure that i got it into all the brass bits to clean out any remaining traces of crud. I then used dry 100% nitrogen to remove all traces of the ethanol.